
When it comes to SEO and marketing, I like quick and easy wins.
Even though I’m committed to the long journey of blogging (10+ years and counting), I’d much rather push a few buttons and pull a few levers to get more traffic.
Low effort. Big wins. That’s where I like to be.
And, thankfully, there are some SEO techniques that deliver high value for low effort.
I want to share with you one of those techniques — creating an XML sitemap.
Now before you run away after reading the term “XML sitemap,” let me give you some good news.
Even though an XML sitemap is considered a “technical” side of SEO, it’s not hard to make one. And, really, it’s not “technical” either.
In fact, in just a few minutes you could create a really good XML sitemap. You don’t have to know how to code. You just have to know how to click.
It’s free. It’s easy. It’s relatively simple, and it can improve your SEO.
Ready to give it a try?
Learn how I generated over 100,000 visitors a month through SEO.
Let’s make sure we understand what an XML sitemap is.
What is an XML sitemap?
In simple terms, it’s a list of a website’s URLs.
That’s why it’s called a sitemap. It maps out how the website is structured and what the website includes.
(“XML” stands for “Extensible Markup Language,” a way of displaying information on websites.)
That’s what an XML sitemap is, but why should you even have one? What’s the purpose?
So, what’s the point of an XML Sitemap?
Search engines use crawlers to organize and index information on the web.
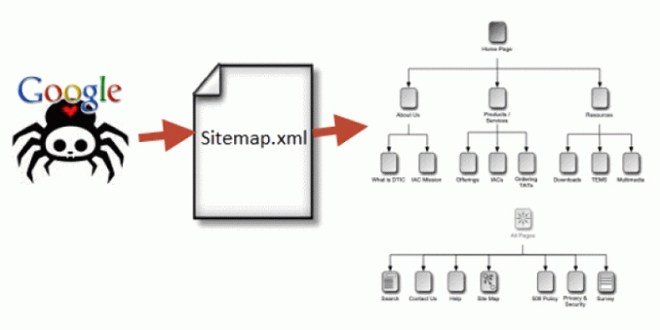
These crawlers can read all kinds of information. But an XML sitemap makes it easy for the crawler to see what’s on your website and index it.
Once it does this, your website has a stronger likelihood of improving its rank quickly.
An XML sitemap works, essentially, as a table of contents for your website, allowing the crawler to get the essentials and index your site accordingly.
Another writer uses the analogy of a house blueprint:
Think of your website as a house and each page of your site as a room. You can think of an XML Sitemap like a blueprint for your house and each web page were a room, your XML Sitemap would be a blueprint—making it easy for Google, the proverbial home inspector of the web—to quickly and easily find all the rooms within your house
A well-structured sitemap can do even more, however.
Sitemaps can tell search engines when a page was updated, the frequency of updates to the page, the relative importance of pages within a website, and how to find and index content that may be found deep within the site’s structure.
Here’s what the information looks like in a sitemap:
- Where the page is located on the website (its URL): <loc>https://www.example.com/mypage</loc>
- When the page was last changed: <lastmod>2013-10-10</lastmod>
- How often the page is changed: <changefreq>monthly</changefreq>
- What priority the page has in relationship to other pages on the site: <priority>1</priority>
These features are important, especially considering the amount of unauthorized syndication that takes place with content today.
One columnist for Search Engine Land explains why this is important for SEO:
For content publishers, it’s become critical to help Google specifically understand if your site is the original publisher of content….XML sitemaps are just one tool that can help content creators establish their stake as the content originator.
If you aren’t using a sitemap, your website could be seen as containing duplicate content, which isn’t good for SEO.
More importantly, however, a sitemap is a fast way to get indexed by Google.
Like I said at the beginning of the article, I like easy wins. With a sitemap, you can tell Google, “Look, this is my site, and here are the pages I want you to index.”
Within minutes, Google will respond to your submission, crawl your site, and index your content.
It’s that simple.
If you’re wondering, “Hmm. Do I really need a sitemap? Should I go to all that trouble?”
I would like to persuade you to, yes, do it.
Consider these benefits of an XML sitemap.
- The XML sitemap tells Google to crawl and index your website.
- The XML sitemap tells Google what to crawl on your website.
- The XML sitemap tells Google what kind of information is on your website.
- The XML sitemap tells Google when your content was updated (which could result in more favorable or “fresh” rankings).
- The XML sitemap tells Google how often your content is updated.
- The XML sitemap tells Google how important your content is.
- The XML sitemap helps your website instantly gain indexation for dynamically-generated pages.
- The XML sitemap helps to overcome the limitations of a website with weak internal linking.
- The XML sitemap helps to overcome the challenge of not yet having a strong external link profile.
- The XML sitemap helps extremely large sites gain better and more organized indexation.
- The XML sitemap helps Google crawl your website in a more effective way.
- The XML sitemap shows Google all the pages on your website, even if they are deep within the architecture and might not otherwise be crawled as quickly.
If you’re ready to get started on creating your own XML sitemap, we’ll follow a three-step process:
There are three things you have to do:
- Create your XML sitemap.
- Add your XML sitemap to your website.
- Submit your XML sitemap to Google.
The remainder of this article will address each of those points, along with one final step:
- First, I’ll explain how to create an XML sitemap for any website, regardless of its size or the CMS you’re using.
- Second, I’ll explain how to create an XML sitemap for a WordPress website.
- Third, I’ll explain how to submit your XML sitemap to Google.
- Finally, I’ll show you how to use Ubersuggest to find potential sitemap errors
Create an XML sitemap using Screaming Frog (for any website)
You can use Screaming Frog to create an XML sitemap for any website. It doesn’t matter what CMS you’re using, what size the website is, how old the website is, or anything.
In fact, you don’t even need to own the website or have login access to it in order to create the sitemap.
Is there a cost associated with this? Screaming Frog, the tool we’ll use, provides free crawling for up to 500 pages. To crawl websites larger than 500 pages, you will need to purchase a Screaming Frog license.
About Screaming Frog
If you do not have Screaming Frog yet, please install it. You can do so here.

Screaming Frog is a powerful piece of desktop software that helps you with a whole range of SEO activities.
The basic version is free. The full version (with license purchase) costs £149.00 per year (around $180 USD or €170 euro).

In this section, I’ll walk you through how to create an XML sitemap for any website using the free version of Screaming Frog.
First, open Screaming Frog.
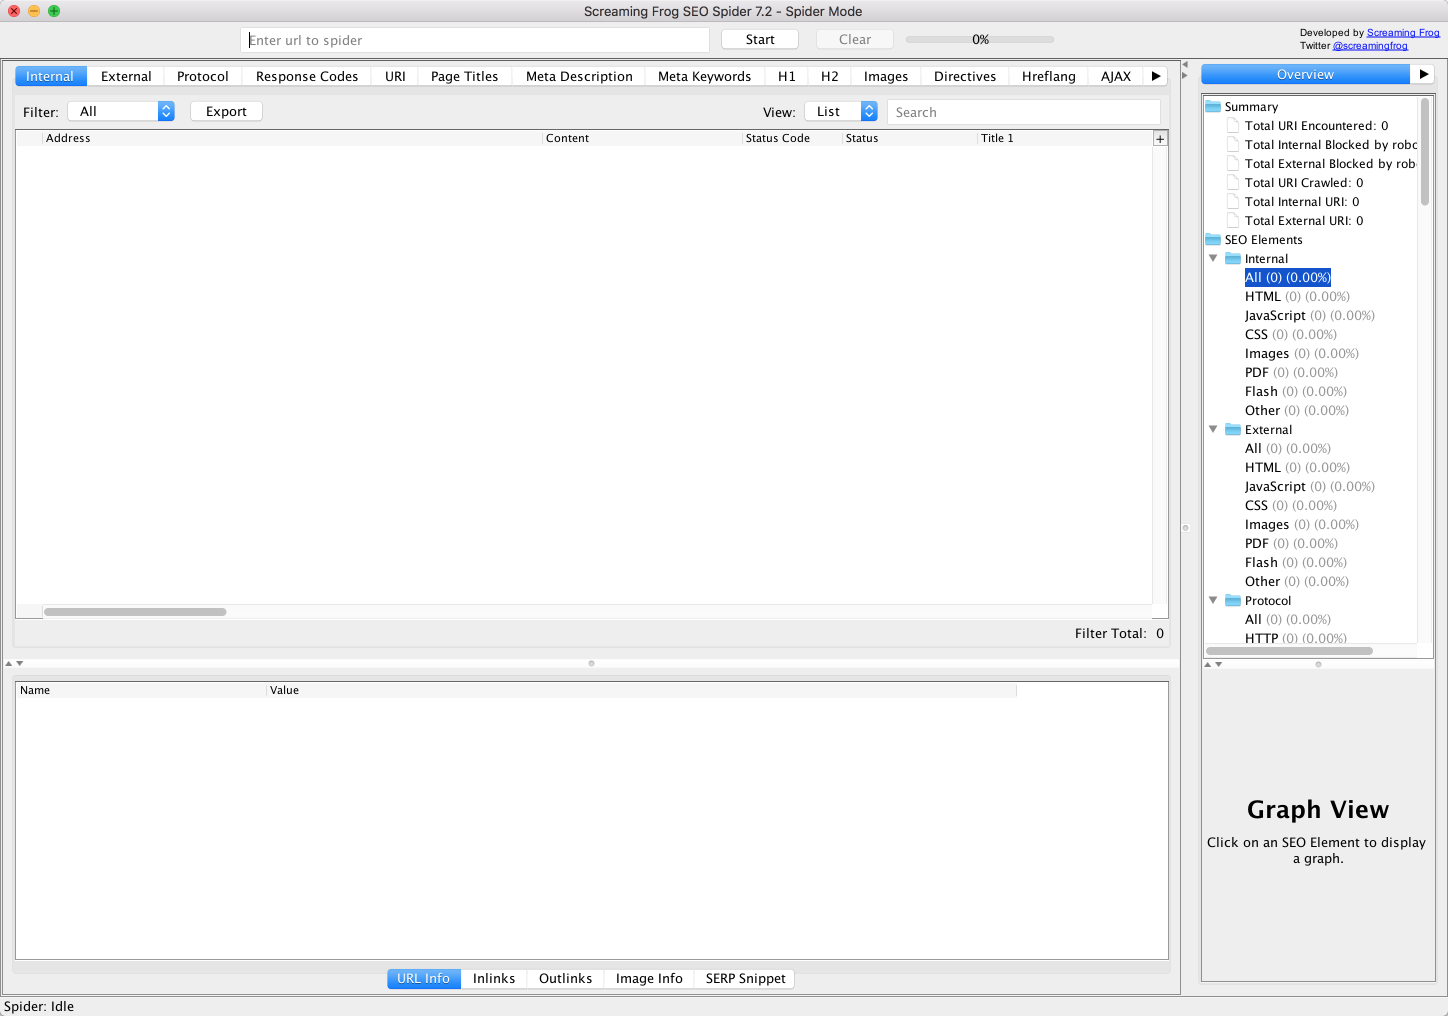
Second, type your URL into the field at the top.
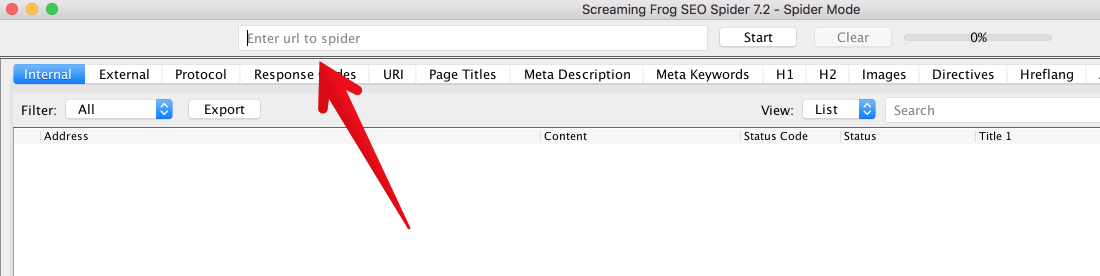
Click “Start.”
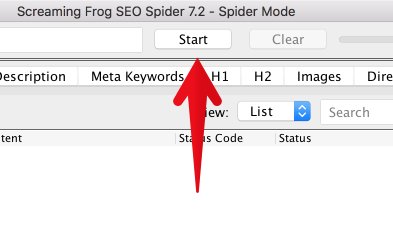
Depending on the size of your website, it will take from a few minutes to a few hours to crawl the site.
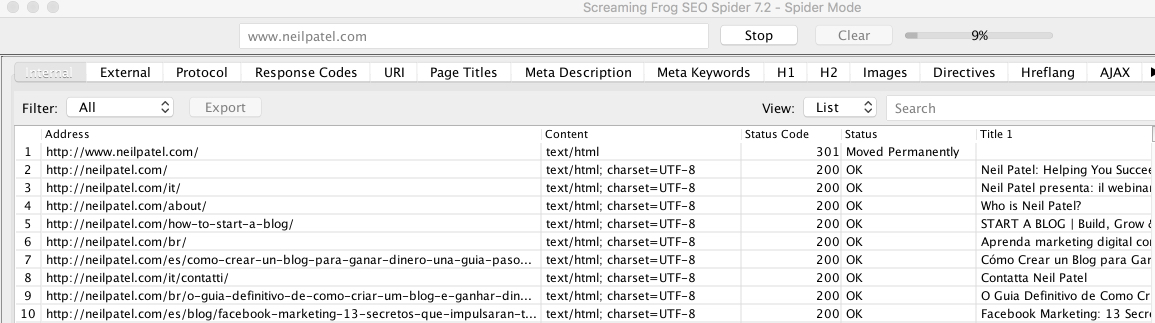
For a site like NeilPatel.com (2,700+ pages), it only takes about a minute. I’ve worked on some large ecommerce websites with millions of URLs. These have taken hours to crawl.
When the site has finished crawling, it will display “100” in the status bar.

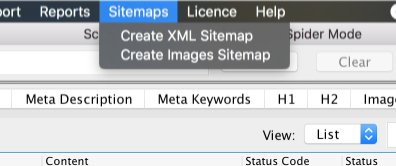
Now, click “Sitemaps” in the menu bar.
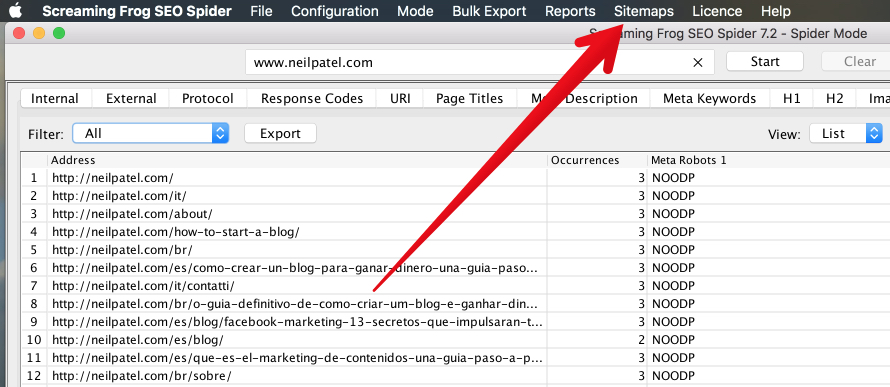
Click “Create XML Sitemap.”
Next, you’ll need to choose which sections of your website you want to include in the XML sitemap.
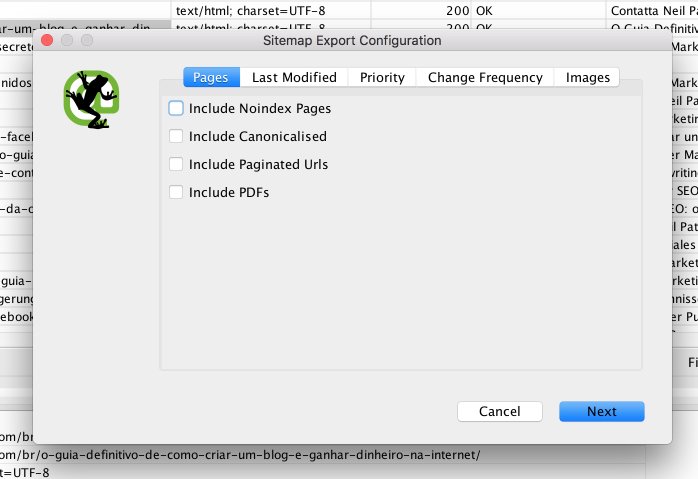
At first glance, this may seem confusing, especially if you’re not sure what “Noindex” or “canonicalised” means.
Here is a brief explanation of each one:
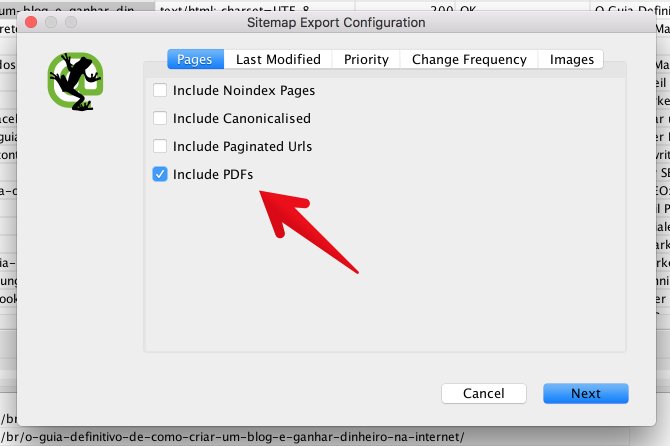
- Include Noindex Pages — Noindex pages are those that contain HTML code in the header telling the search engines not to include the page in the search index. If your developer has set certain pages as “Noindex” it is probably with good cause. When in doubt, do not check this box.
- Include Canonicalised — There may be more than one URL pointing to the same page of content. If you “include canonicalised,” you are telling the crawl tool to include variations of the URLs that point to the same page. If in doubt, leave this unchecked.
- Include Paginated URLs — A paginated URL is one that includes rel= attributes (rel=“prev” and “next”) to navigate through a series of content on a website. Unless you’re careful with it, pagination can be a bit dangerous for SEO. I recommend that you do not check this box.
- Include PDFs — You can choose whether or not you want PDFs included in your XML sitemap. Google indexes all kinds of content, PDFs included. I recommend that you do include PDFs in your XML sitemap, as long as the PDFs on your website are important and relevant to users who might be searching for your content.
Remember this basic idea. A sitemap is for SEO. If you want someone to find the page on your website, then you want to include it in the sitemap.
For my purposes, I’m going to include PDFs.
The tabs “Last Modified,” “Priority,” and “Change Frequency” deal with the date and time that website pages were modified and the <priority> settings.
Unless you have a knowledge of these settings, please leave them as they are by default.
I think it’s a good idea to include images in a sitemap, so I’m going to add those to my sitemap.
Click the “Images” tab.
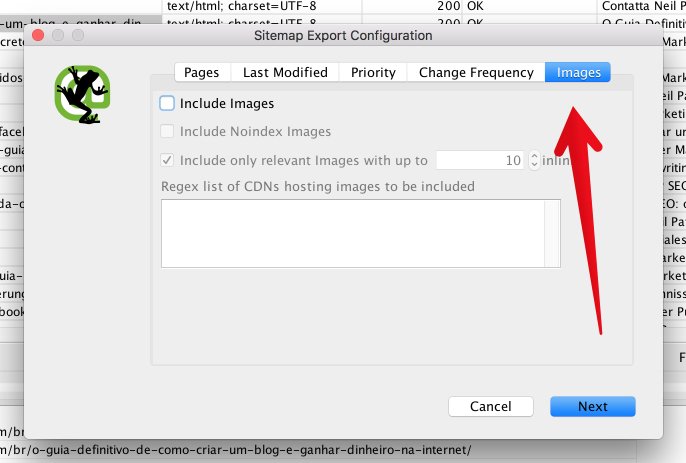
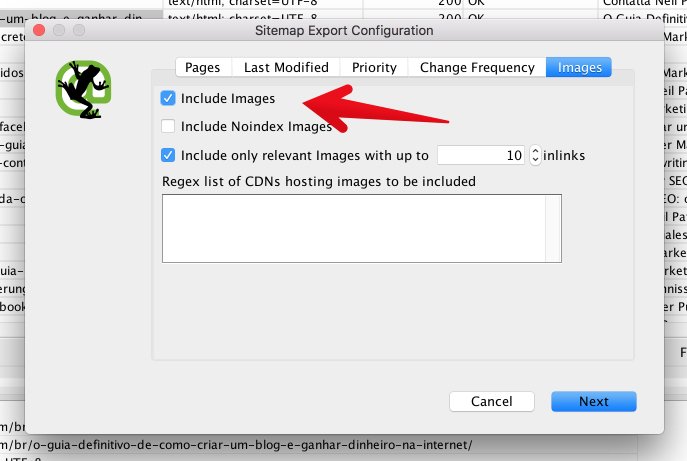
Then, click “Include Images.” The third box (“Include only relevant Images with up to 10 inlinks”) will automatically be checked.
Then, click “Next.”
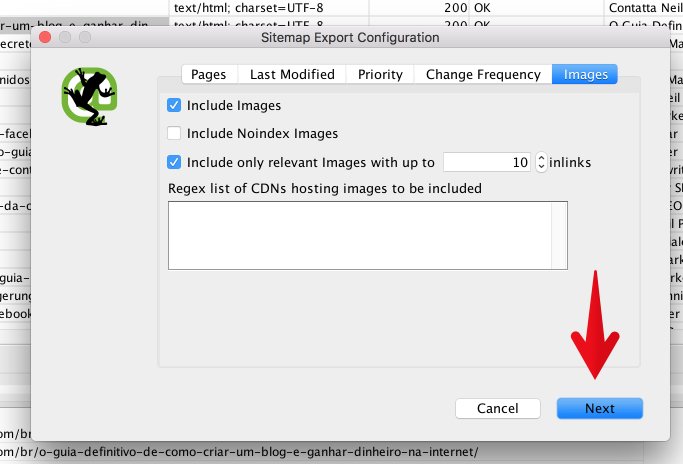
You’ll be prompted to save your XML sitemap on your computer. Find a good place to save it, and click “Save.”
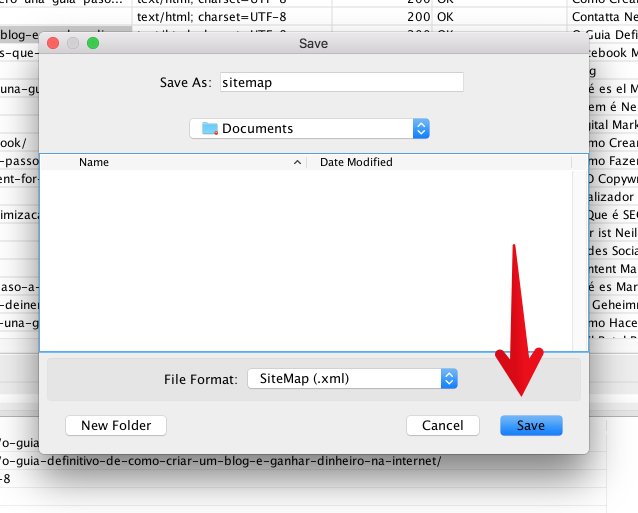
Congratulations! You’ve created an XML sitemap!
You’ll now need to upload this file to your website via FTP. You may already know how to do this.
If you don’t know how to upload the XML sitemap to your website, check with a developer to find out what process you should follow for your specific server and/or CMS.
But creating a sitemap is only the first step. A sitemap means nothing unless you submit it to the search engines.
Skip down to the section “Submit your XML sitemap to Google” to learn how to do it.
How to submit your sitemap to Google.
Now it’s time to do something valuable with your sitemap — submit it to Google.
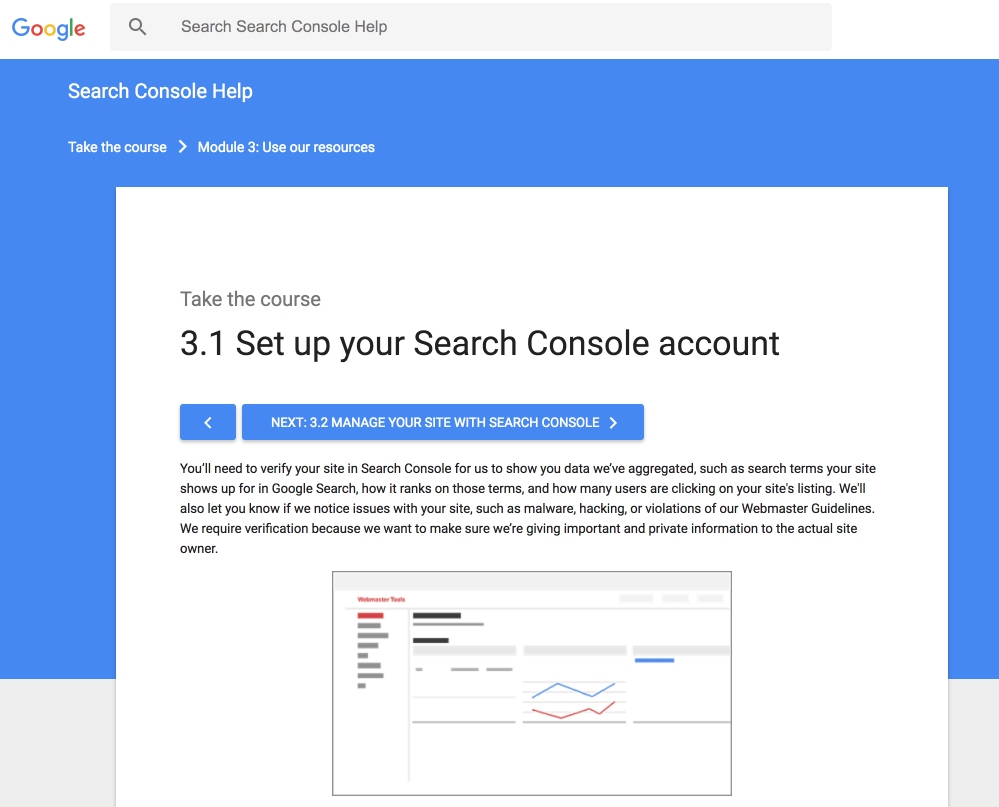
To do this, you’ll need to have Google Search Console connected to your website. Check out this Google guide for instructions on doing so.
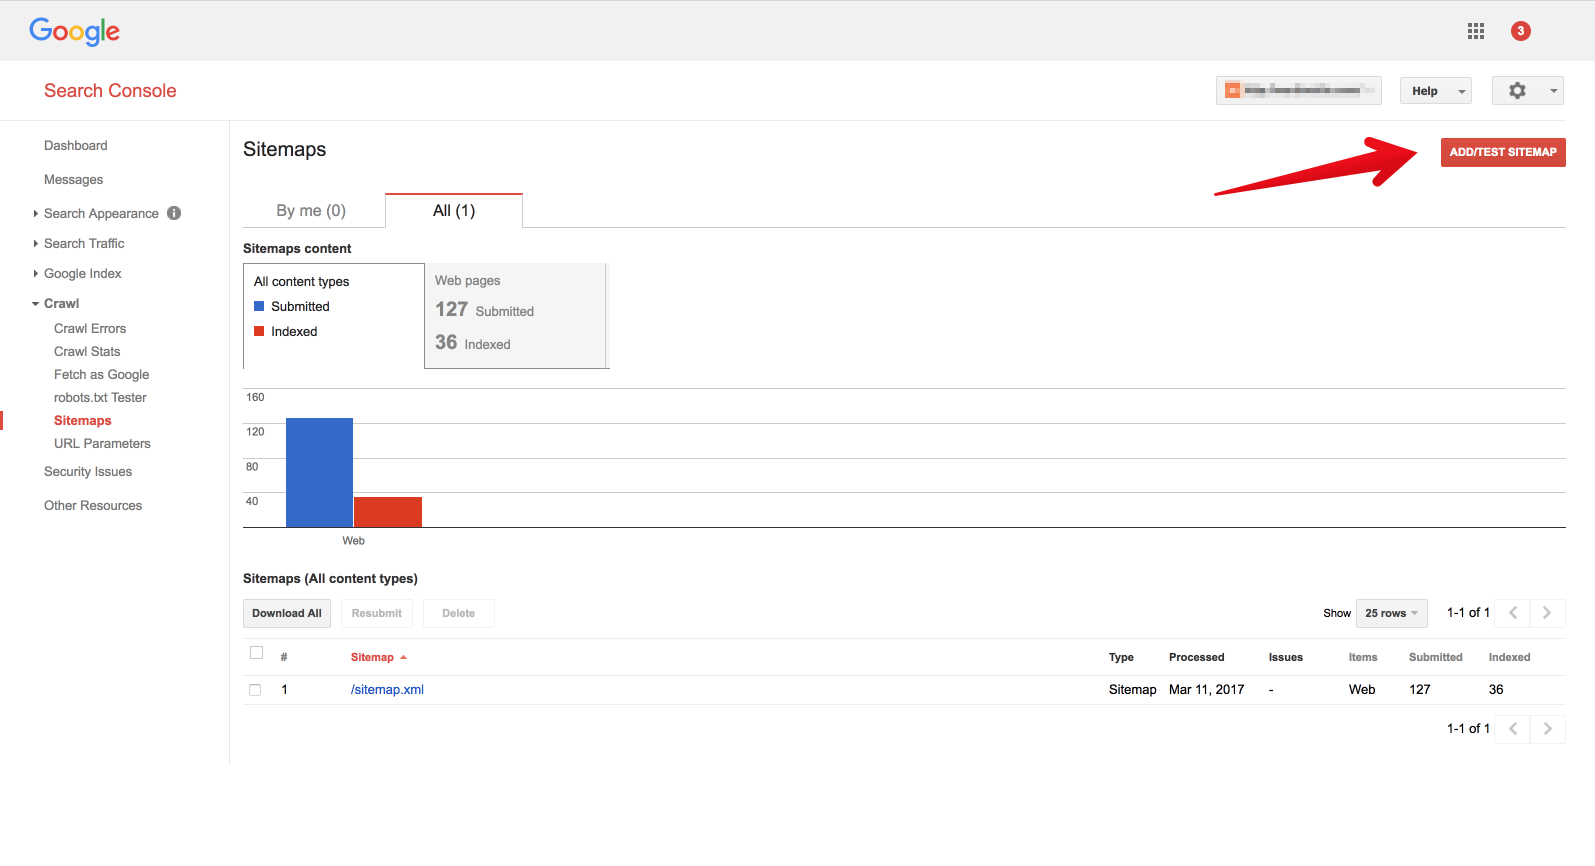
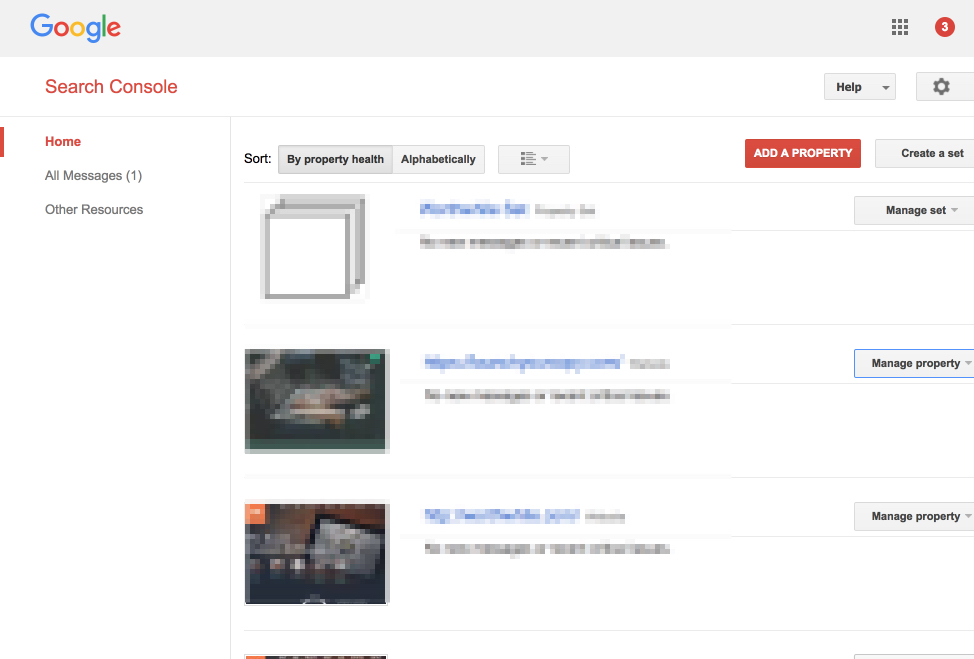
First, go to Google Search Console and select your website.
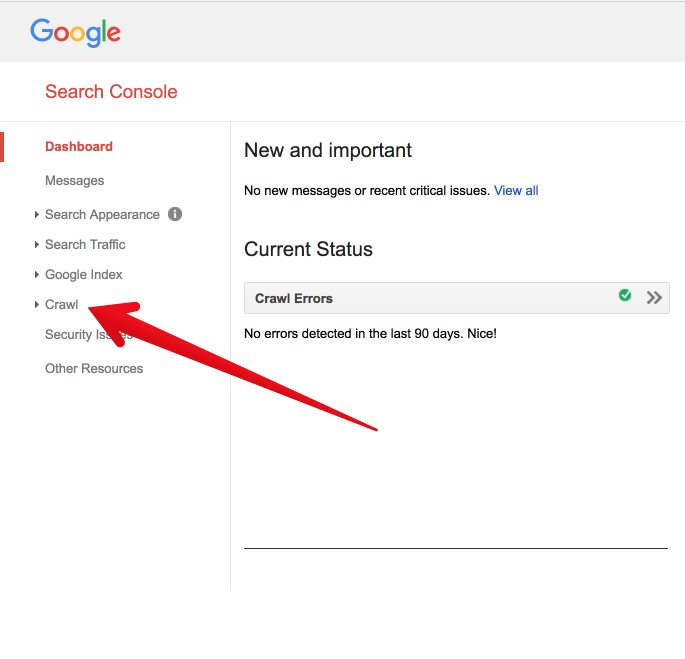
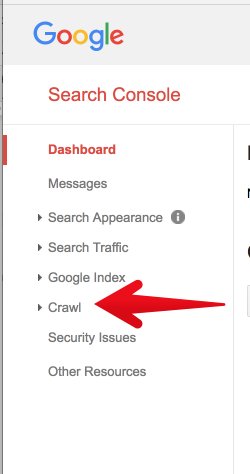
From the dashboard, click “Craw.”
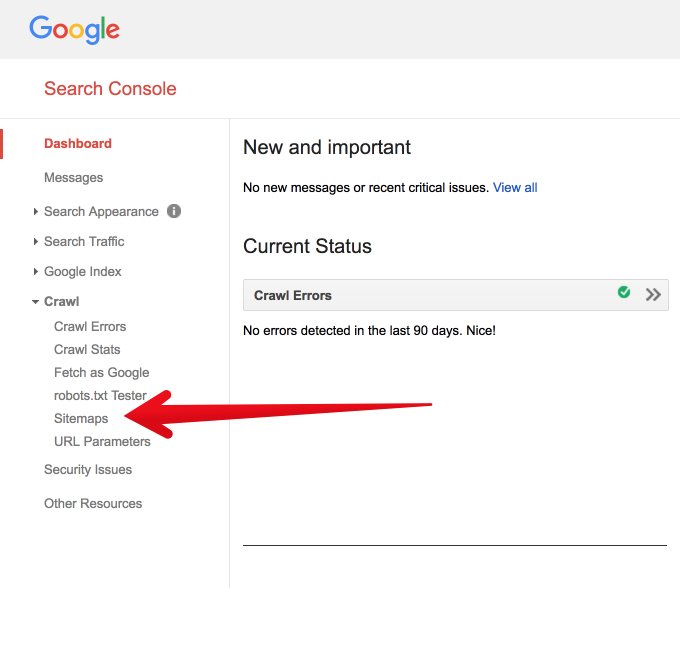
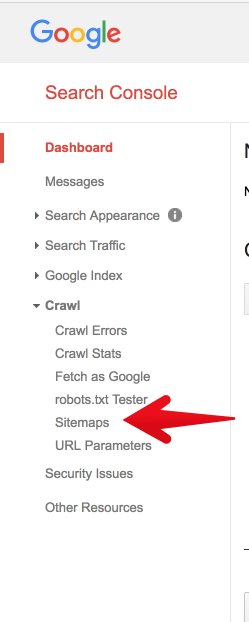
Next, click “Sitemaps.”
Click “Add/Test Sitemap.”
Enter the URL where you’ve saved your sitemap. It should end with “.xml” since it’s an XML file.
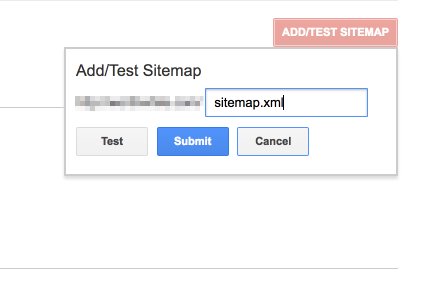
Click “Test” to view the details of the sitemap.

Make sure there are no errors.
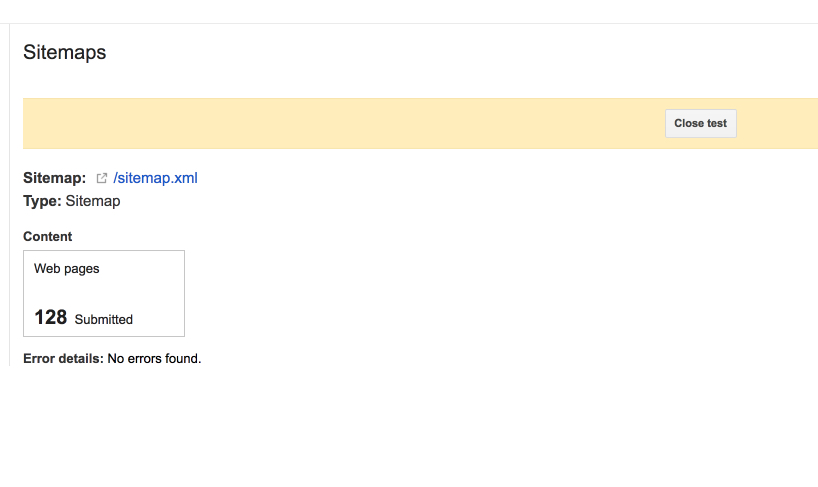
As long as there are no errors, you can submit the sitemap to Google. Click “Add/Test Sitemap” again. This time, instead of clicking “Test,” click “Submit.”
Once that’s completed, Google takes care of the rest. Your sitemap allows Google to quickly and seamlessly index your site, helping to boost your rankings.
Create an XML sitemap using Yoast (WordPress users only)
Yoast is one of the most popular SEO plugins for WordPress. Yoast makes it easy to create and submit an XML sitemap.
I’ll explain how to do it step-by-step, but first, here’s what you need:
- You must be using a WordPress.org site.
- You must have the Yoast plugin installed. (It’s free.)
- Your website must be connected to Google Search Console.
Most websites already have those three things in place. If you’re ready, let’s jump in.
Log in to your WordPress admin.
Note: In the screenshots below, my WordPress admin might look a little bit different from yours. That shouldn’t keep you from being able to follow each step.
What we’re going to do first is make sure that the Yoast plugin is all ready to create a sitemap for you. To do so, we’ll need to turn on Yoast’s advanced settings.
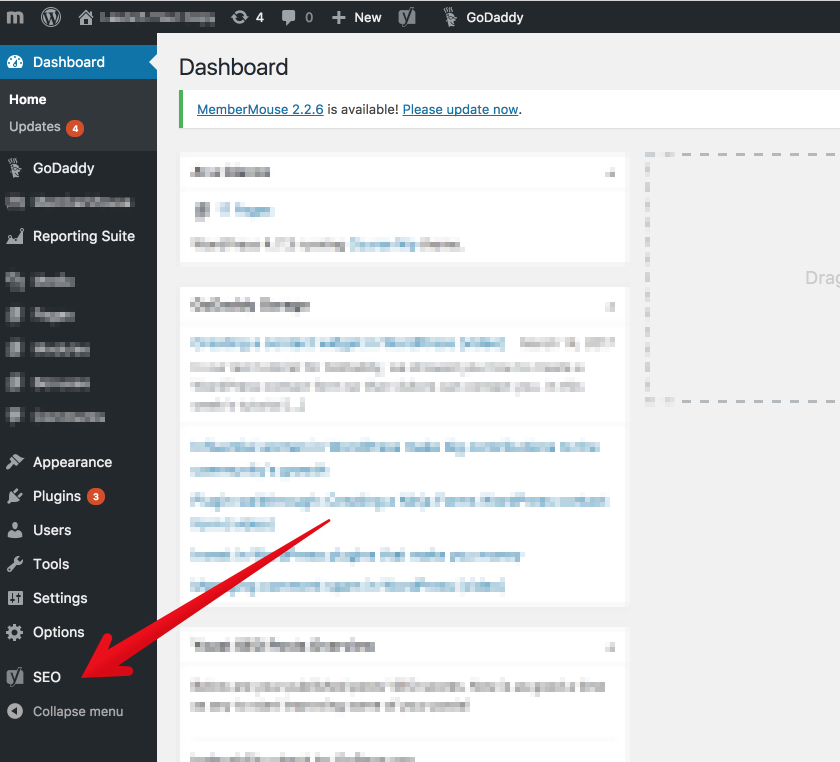
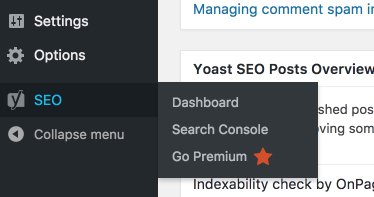
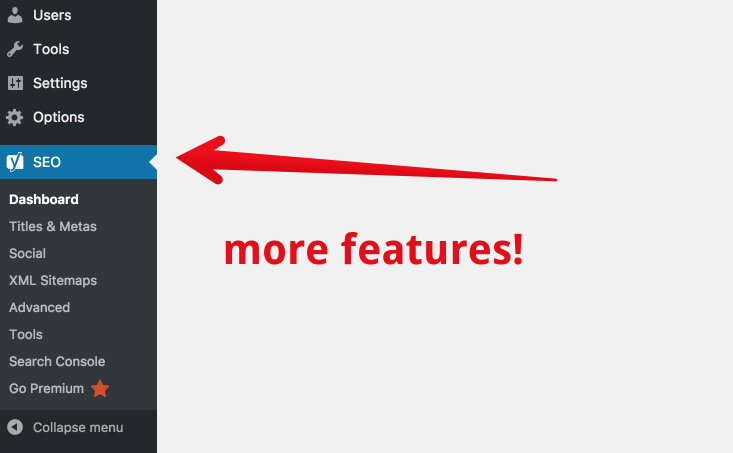
Click on the Yoast plugin.
It has a “Y” icon, and says “SEO.” It should be located in the left sidebar.
Click the “Dashboard” option.
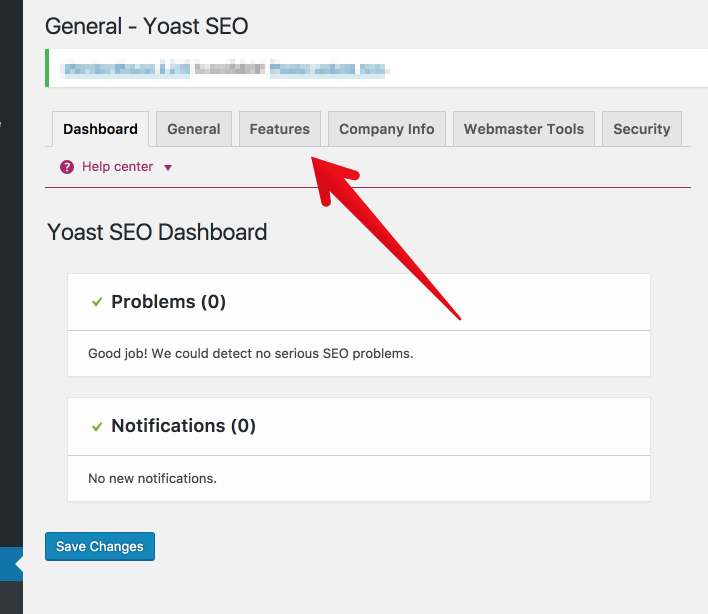
From the Dashboard, click “Features.”
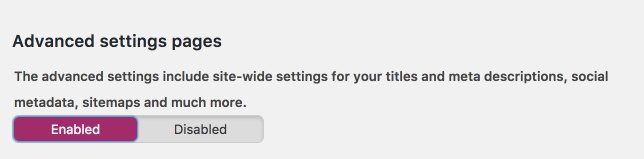
From the Features tab, find “Advanced settings pages.”

Switch the advanced settings to “enabled.”
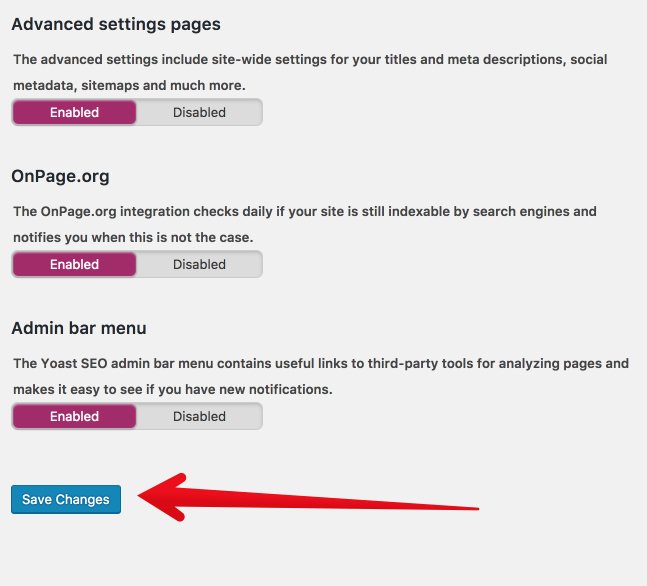
Now, scroll to the bottom and click “Save Changes.”
Great! Now that we’ve turned on Yoast’s advanced features, we have some fresh SEO firepower.
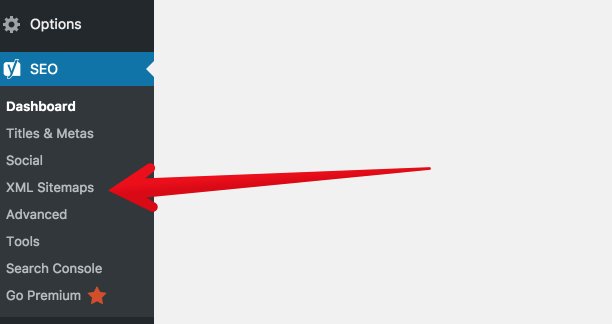
You should see that the Yoast menu in the left sidebar has changed. There are a few additional options.
This is where we get into the details of creating your XML sitemap. It’s very simple to do, but I’ll give you the instructions in a detailed way.
In the Yoast menu, click XML sitemaps.
Note: If you don’t see the menu, click on the “Y SEO” main menu to make the dropdown menu expand.
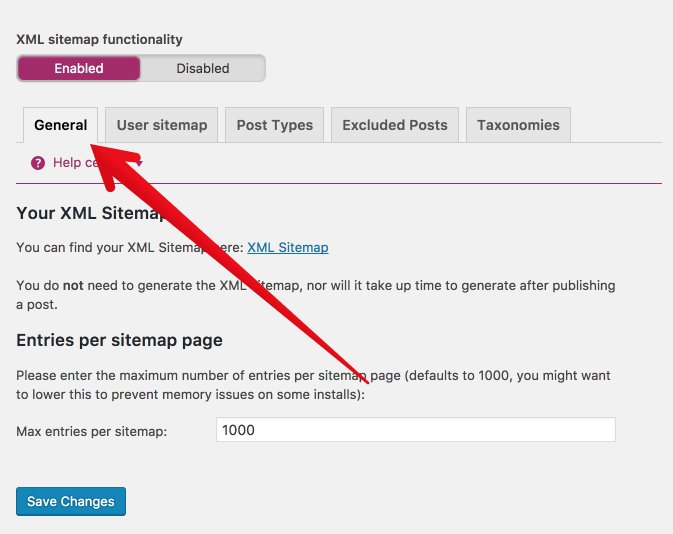
Here is where you setup your XML sitemap functionality.
This is the first tab, “General.” You can leave the settings where they are.
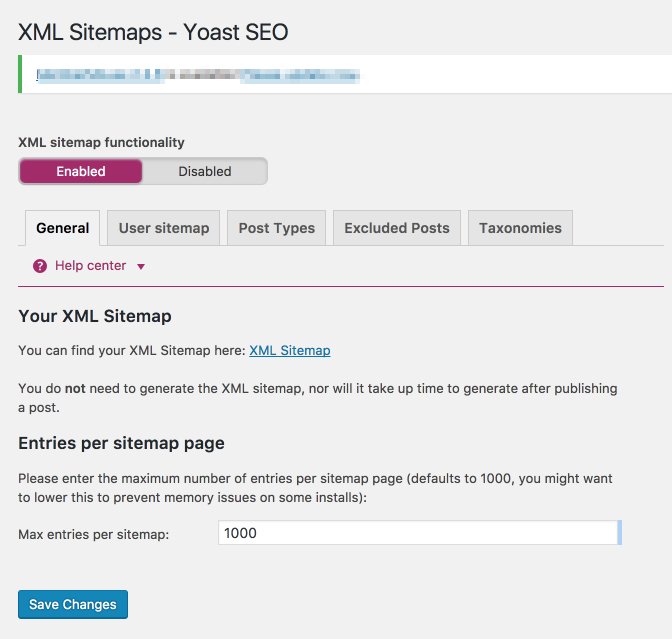
If you make any changes, be sure to click the blue “save changes” button at the bottom.
Click the User sitemap tab.
If your WordPress site has multiple authors, and you want their author archive URLs to be indexed, you can enable this tab.
If you leave it disabled, it won’t harm the full functionality of the sitemap.
I’ve left it disabled here, because the WordPress site I’m using has a single author.
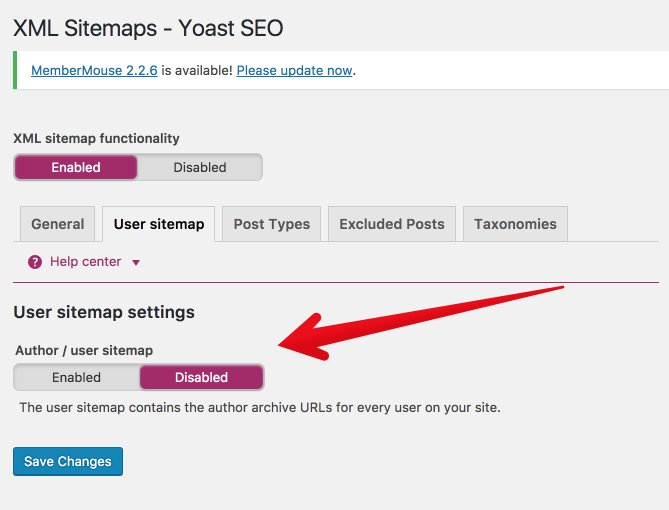
If you’ve changed anything, click “save changes.”
Click on Post Types.
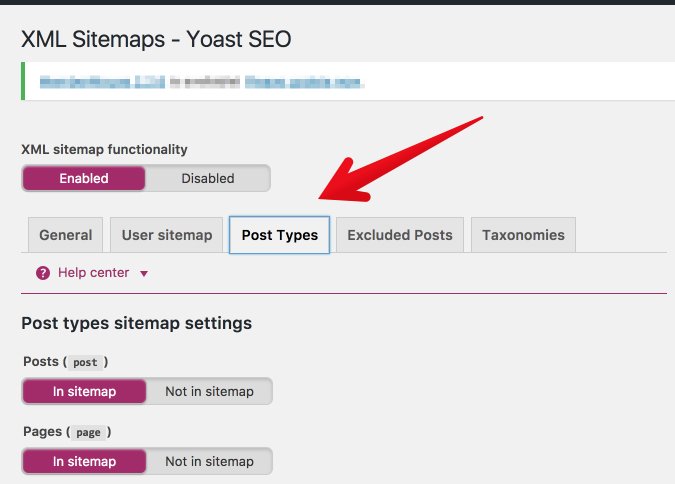
In this section, you’ll decide which types of posts should be indexed. In most cases, you’ll want to include everything (including media) “in sitemap.”
If you prefer to keep some of your content hidden or gated, then leave it off the sitemap.
Not sure what to do? Keep everything “In sitemap.”
Again, click “save changes.”
Now, click “Excluded posts.”

Do you have any posts that you know you want to keep off the sitemap?
If so, add them here.
Please keep in mind, if you keep a post off of the sitemap, people can still find it, access it, and view it. And, as if often the case, Google might still index it.
If you’ve added any posts to the exclusion list, click “save changes.”
Finally, click “Taxonomies.”

Most likely, you’ll keep the settings here the same. The more tabs you keep “in sitemap,” the fuller and more helpful your XML sitemap will be.
If you do make changes, be sure to click “save changes.”
Okay, your sitemap is ready! Let’s take a look at it!
Go back to the “General tab.”
Under the heading “Your XML Sitemap,” click to view your XML sitemap.
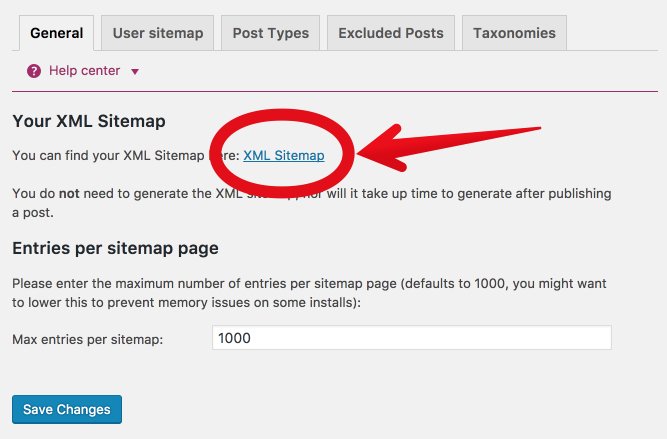
That’s your brand new, shiny XML sitemap.
When you open it, you’ll be taken to an actual page on your site. It may look something like this.
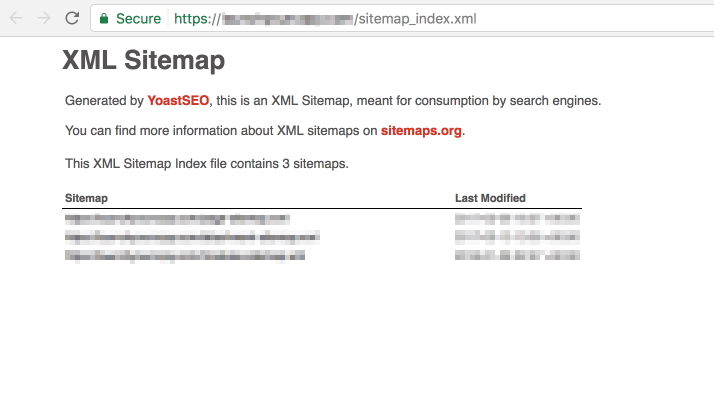
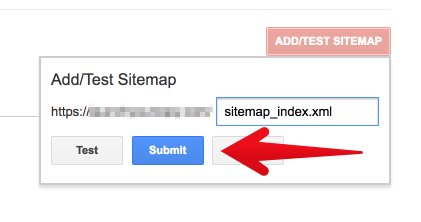
Now, for a small but important part. Copy the last part of that URL — sitemap_index.xml.
That’s the part of the URL that you’re going to submit to Google in the next step. I’ll include it in the step below so you can easily copy and paste it.
Now, it’s time to submit this to Google.
Submit your XML Sitemap to Google.
Whether you’re using Yoast with WordPress or have a Screaming Frog sitemap, the instructions from here on out are the same.
You’ll need to submit your XML sitemap to Google.
Head over to Google Search Console.
Select your website from the list (if you have a list).
In the left sidebar, click “Crawl.”
Then, click “Sitemaps.”
If this is the first time you’ve ever created or submitted a sitemap, there will be nothing to show.
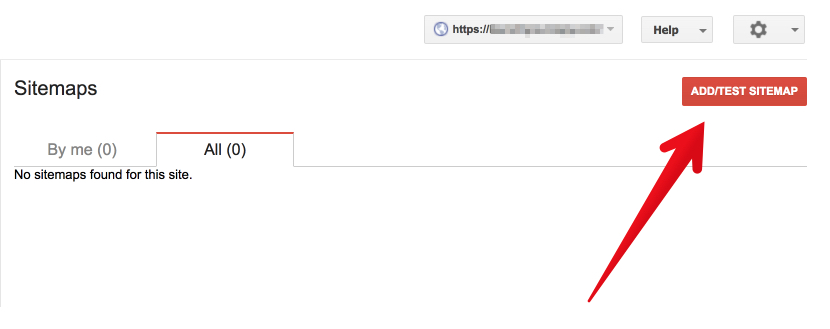
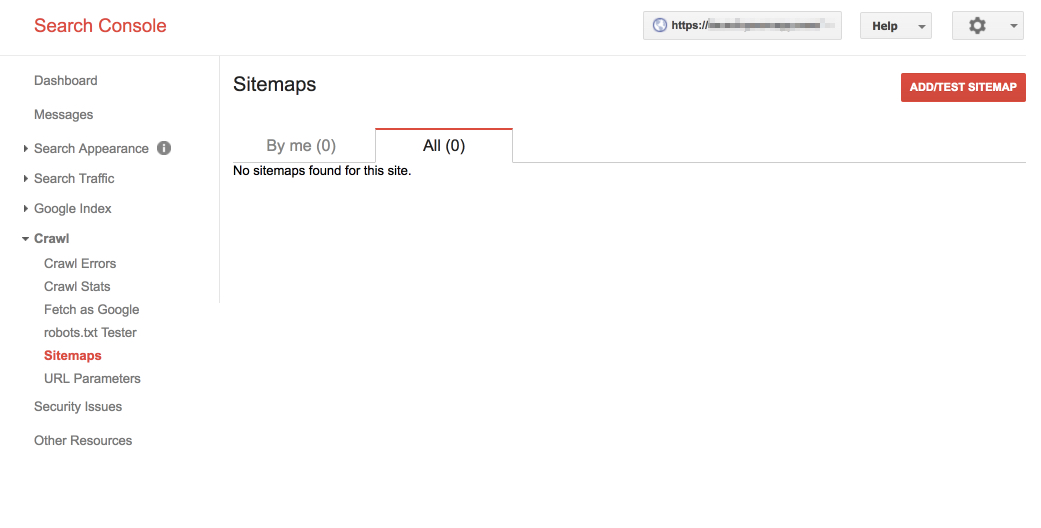
Click “Add/Test Sitemap.” A small box will appear with a place to add your sitemap URL.
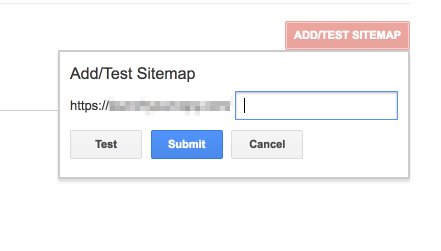
This is where you paste in the section of the URL from your sitemap:
sitemap_index.xml
Click “Submit.”
Search console will confirm your submission with the message, “Item submitted.”
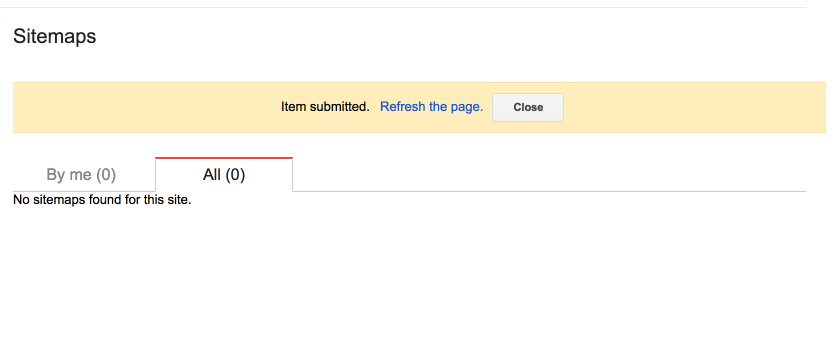
Go ahead and refresh the page.
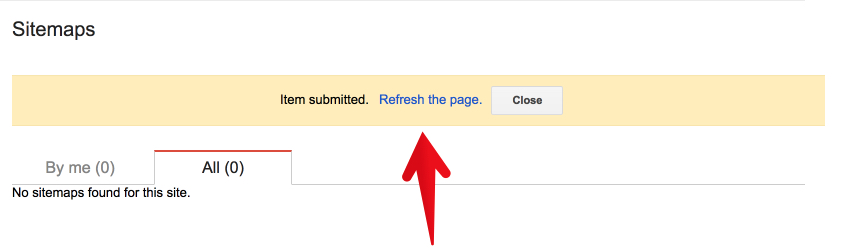
Your newly submitted sitemap will appear below.
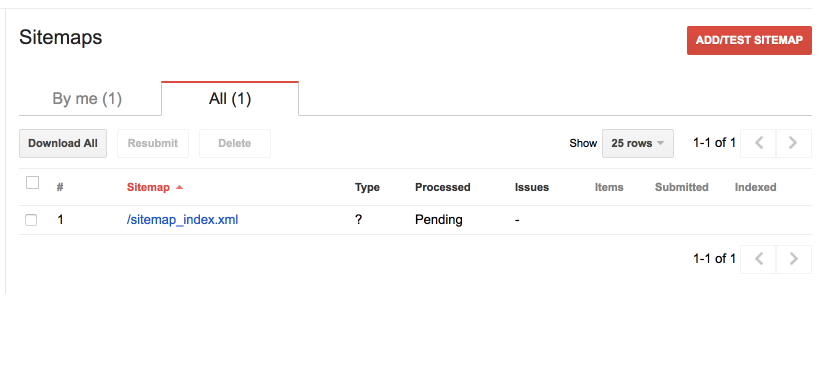
After a few minutes of processing, Google will provide a full report of how your sitemap is functioning.
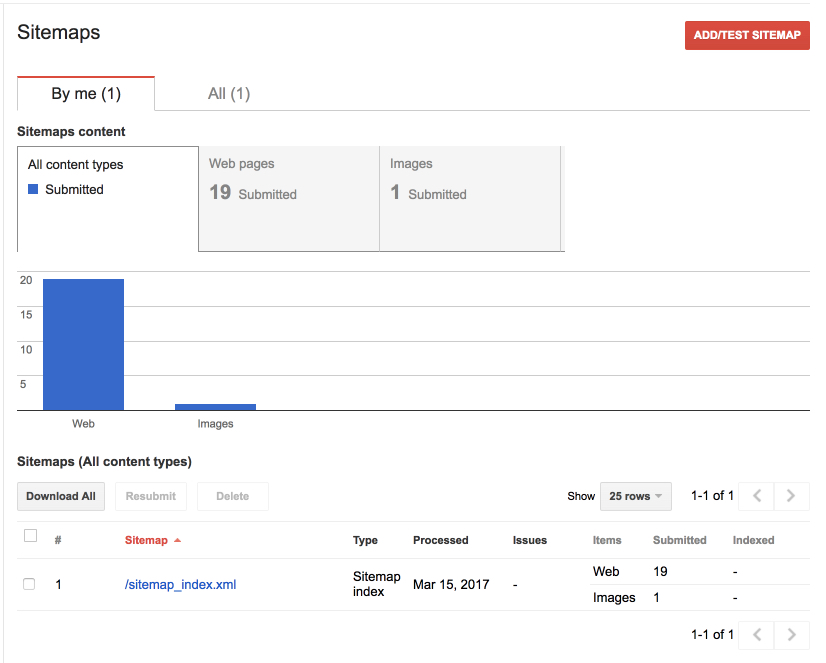
That’s it! You’ve successfully generated an XML sitemap, submitted it to Google.
Now, you can move onto the final step.
Check for Sitemap Errors
If you follow the steps above, you shouldn’t have any sitemap errors. But just because you shouldn’t, doesn’t mean you won’t.
Here’s how you can use Ubersuggest to check for sitemap errors:
Step #1: Enter Your Domain Name and Click Search

Step #2: Click Site Audit in the Left Sidebar

Step #3: Review the Results

In regards to finding issues with your sitemap, review the data associated with the health check, critical errors, warnings, and recommendations.
For example, when you click on Critical Errors, here’s what you see for my website:

There are no issues with my sitemap, but if there were, here’s where you’d find more information. In addition to the issues itself, there’s a learn more button that takes you to:

You can then follow the prompts for more guidance on how to fix the error.
Use Ubersuggest to regularly check the health of your sitemap. Doing so once or twice a month will only take a few minutes out of your schedule, but it can go a long way in improving the SEO of your website.
Conclusion
In my experience, a lot of small business owners and web entrepreneurs get afraid when they hear the term “XML sitemap.”
It sounds so jargony and code-like. If you’re not an SEO nerd or a computer geek, how do you figure out how to create and submit an XML sitemap?
As it turns out, it’s not that hard.
Creating a sitemap using a program like Screaming Frog takes literally one minute or less.
If you know nothing about sitemaps and need to go through the whole process for the first time, no problem. Walking through the entire process from start to finish may take, at most, twenty minutes.
The SEO benefits, however, will be enormous.
If you’ve never created an XML sitemap for your website, my advice is simple: Get one made today.
Then, check back here to tell me the kind of SEO boost you’ve experienced!
You can do it. I’ve got your back.
What’s your experience creating an XML sitemap? How has it helped your site’s SEO?
Comments (215)