
You’re a writer, not a photographer.
So why do you need to add photos to your blog posts when your words should be enough to entice your audience, engage visitors, and persuade people that your content is great?
The truth is, it’s not enough.
Especially when writing a blog post for the web.
What you need to understand is that your audience is lazy.
They want information as fast as they can get it.
They don’t want to struggle to read and digest your content. They want to be able to understand it quickly and easily to ascertain whether it’s going to be of any value to them.
Just because images are important doesn’t mean your words aren’t too.
That’s why you don’t have a blog post full of only images.
Images are a supporting tool that can take your content from bland to exciting.
So it’s strange, then, that some content writers don’t understand the best practices for including images in their blog posts.
If that’s you, then keep reading.
Let’s dive in.
1. Break up the text
In the same way people use paragraphs to separate points and make it easier for the reader to digest, people use images to separate points and make the text easier to understand.
Especially for longer pieces. Remember I said readers were lazy?
When they are presented with a wall of text, the first thing they’ll do is try and find another source.
Even if your wall of text isn’t as long as other people’s content, if it looks too difficult to read, they’re not going to bother.
Even though the actual content is the same, which of the two images below would you rather read?

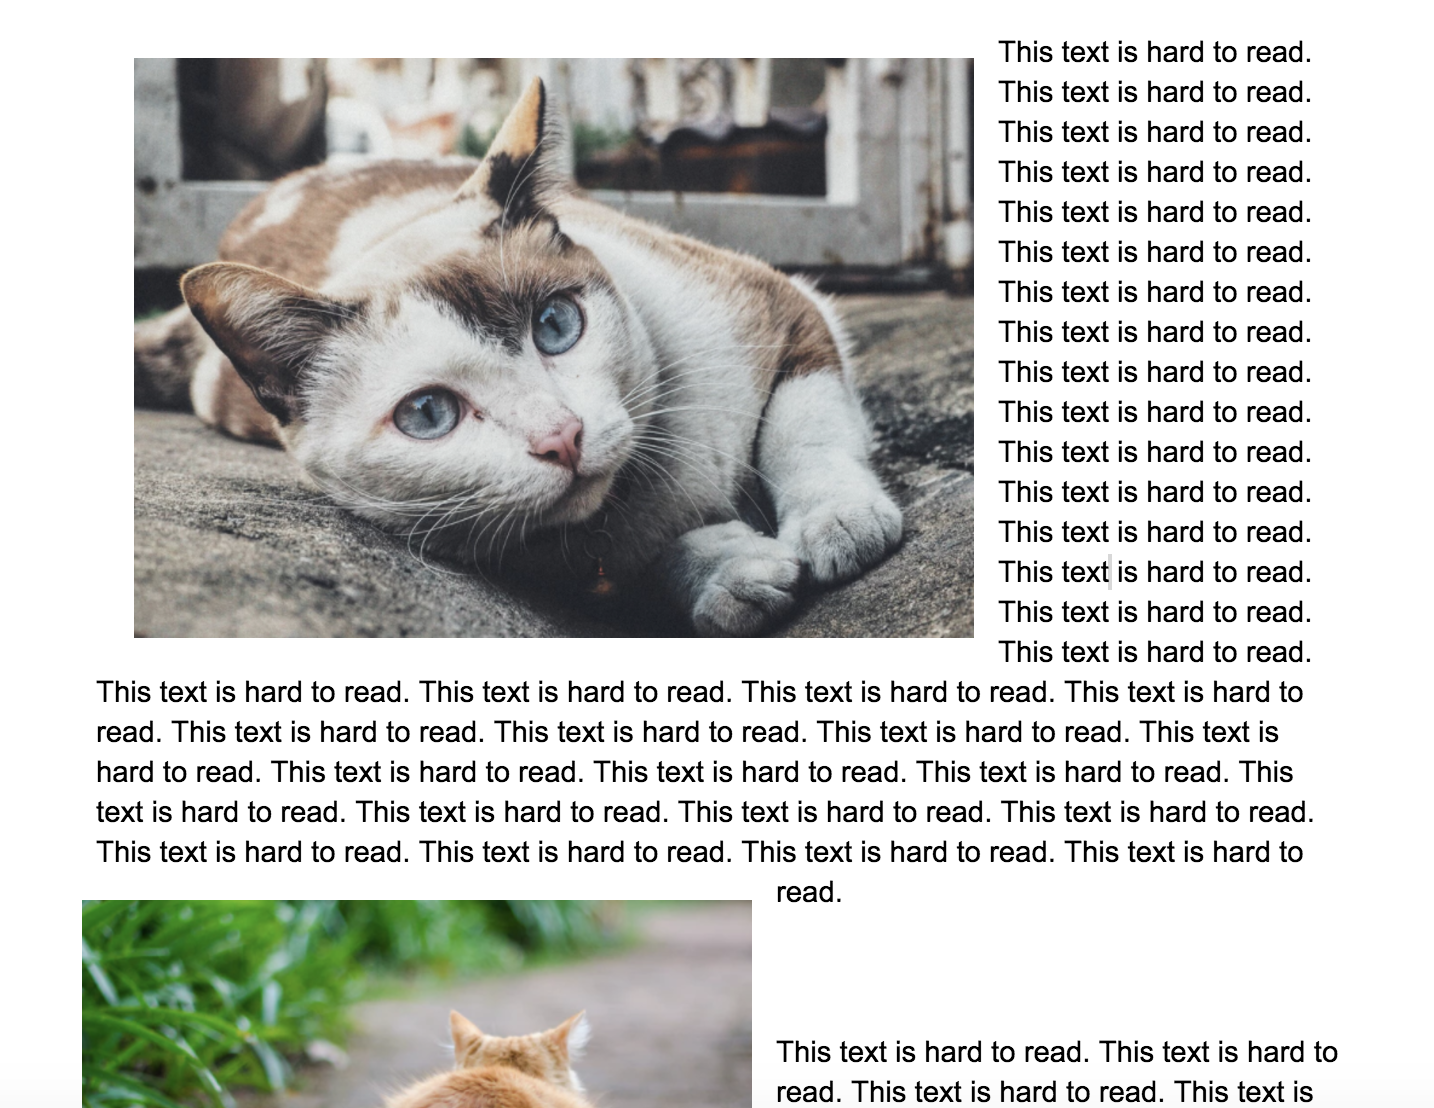
The one with the cats is infinitely easier to read and comprehend.
2. Use clear images
Look at these two images from TechSmith. Which one is more pleasing to the eye?

The image on the left-hand side is clear. It’s obvious what you’re looking at. The image on the right is poor quality and blurry.
Imagine reading a blog post where all the images were like the ones on the right. You’d click off right away.
If the writer can’t be bothered to get high-quality images, they may be producing poor quality content, too.
So, while images, in general, are super important, it’s crucial that you use high-quality ones as well.
Including poor images is just as bad as using no images at all.
3. Utilize legal images
You can’t just take any image from the Internet and put it on your blog post. In fact, some companies charge you a fee to use their images.
When you take images from the Internet, find out whether you are legally allowed to use them on your blog.
In many cases, if you use a free image, you still have to say who created it or where you got it from.
And it makes sense.
You wouldn’t want someone to copy and paste your words and not attribute them back to you.
There are different definitions of legal images.
- Royalty free: Royalty free images aren’t free as the name suggests. With a royalty-free image, you can usually use it as you choose, but you are not allowed to edit or resell it.
- Rights Managed: Normally with these images, you purchase a single-user license for the particular image in question. You have to decide, before you use it, just how you plan to use it. For example, if you use one of these images in your blog post, you can’t then use the same image in a video. You would need to purchase an additional license.
- Public domain: Public domain images have no restrictions. You don’t need to ask for any permission before using these images. Although it’s the general consensus you provide attribution, it’s by no means mandatory.
- Creative Commons: Images have been granted access by the creator. But in most cases, you will need to provide attribution to the creator.
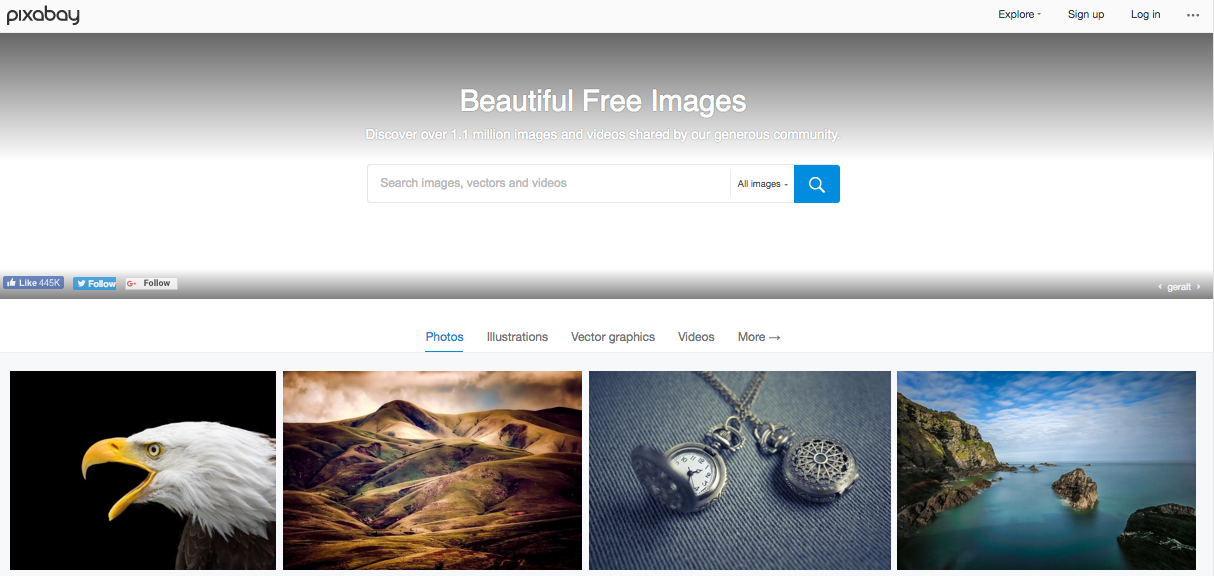
If you’re looking to buy images then you can use a site like Shutterstock.
If you’re looking for good quality free images that you can use without having to attribute anything to the owner of the image, then check out Unsplash or Pixabay.
4. Incorporate screenshots
The images you use on your blog are a visual aid for the point you’re trying to get across.
Sometimes, to make your work even stronger, it’s useful to incorporate screenshots.
A Chrome browser extension like Awesome Screenshot is great for capturing an entire web page.

Or use this handy tip if you own a Mac.
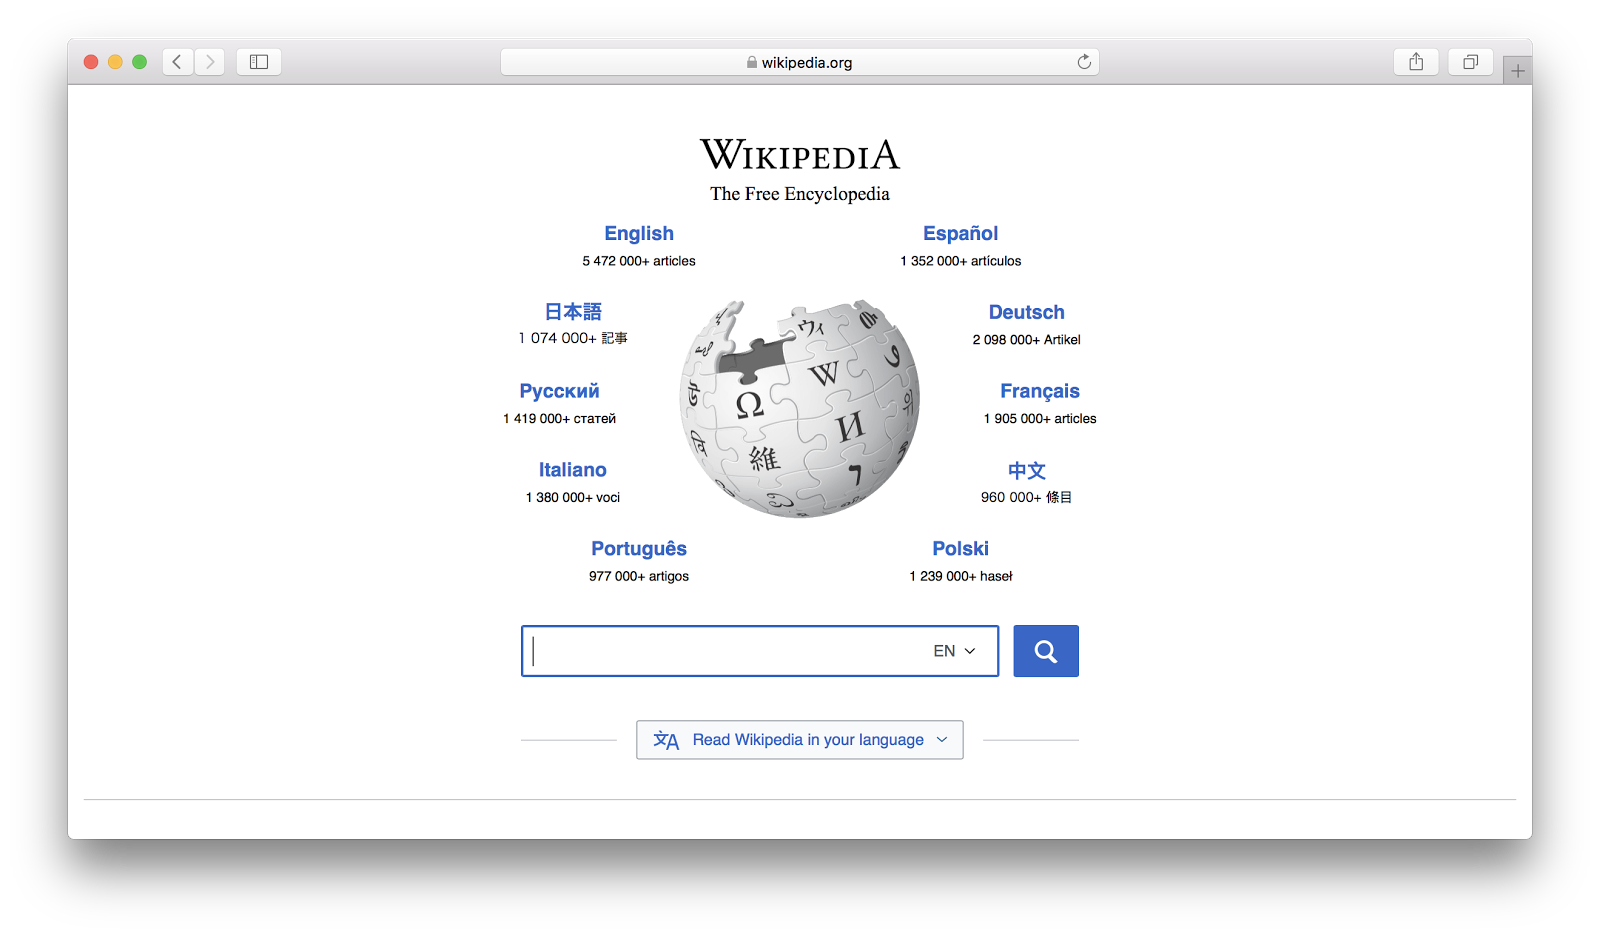
Open any website on your browser of choice. It’s preferable to use a browser where you don’t have endless bookmarks or plugins. This will make your screenshot cleaner.
Press shift + command + 4. When you see the screenshot icon, press the spacebar.
Then hover over the browser with the web page open and left click.
The result will be a screenshot like the one below and include a nice drop shadow.
If you’re looking to annotate your screenshots then I recommend Skitch.
Skitch makes it easy to take and annotate screenshots like this one. 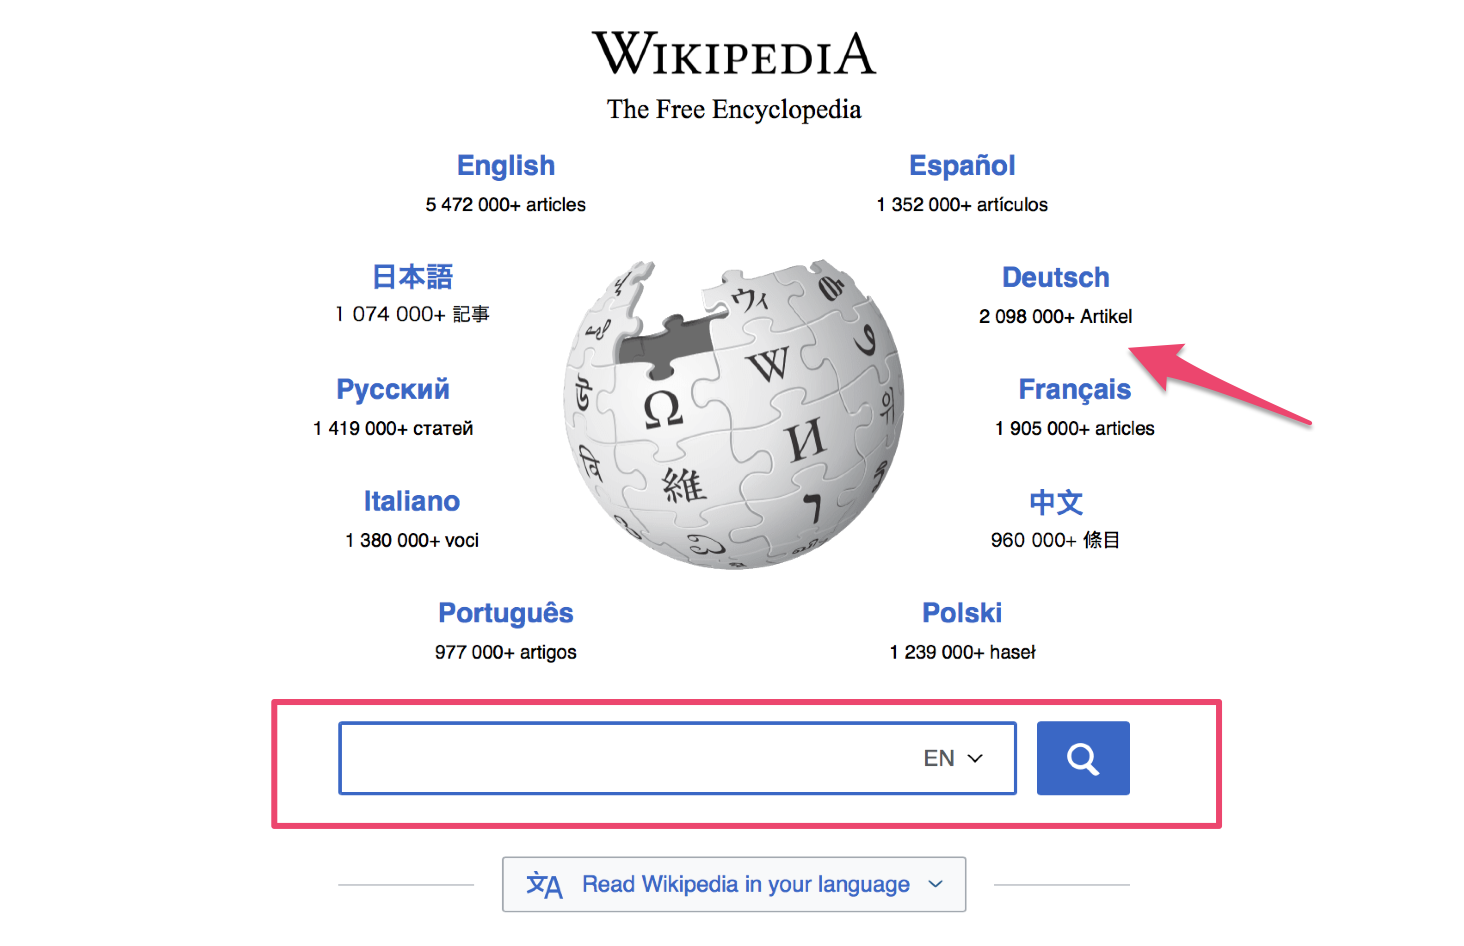
5. Use explainer images
When you use imagery in your blog posts, think about the reason why.
Ideally, your imagery should act as a further explainer of your main point.
For example, if you’re writing a blog post about Twitter, then get a photo of a tweet that explains the blog post. A photo of a person on a computer is not relevant and doesn’t add any value.
Always ask yourself: does this image add any value? If the answer is no, then you should omit it.
If you have complex ideas you need to explain, then utilize diagrams to get your points across.
Use OmniGraffle to create diagrams and flowcharts, which can act as great ways to break up complex ideas into easily digestible visual aids.

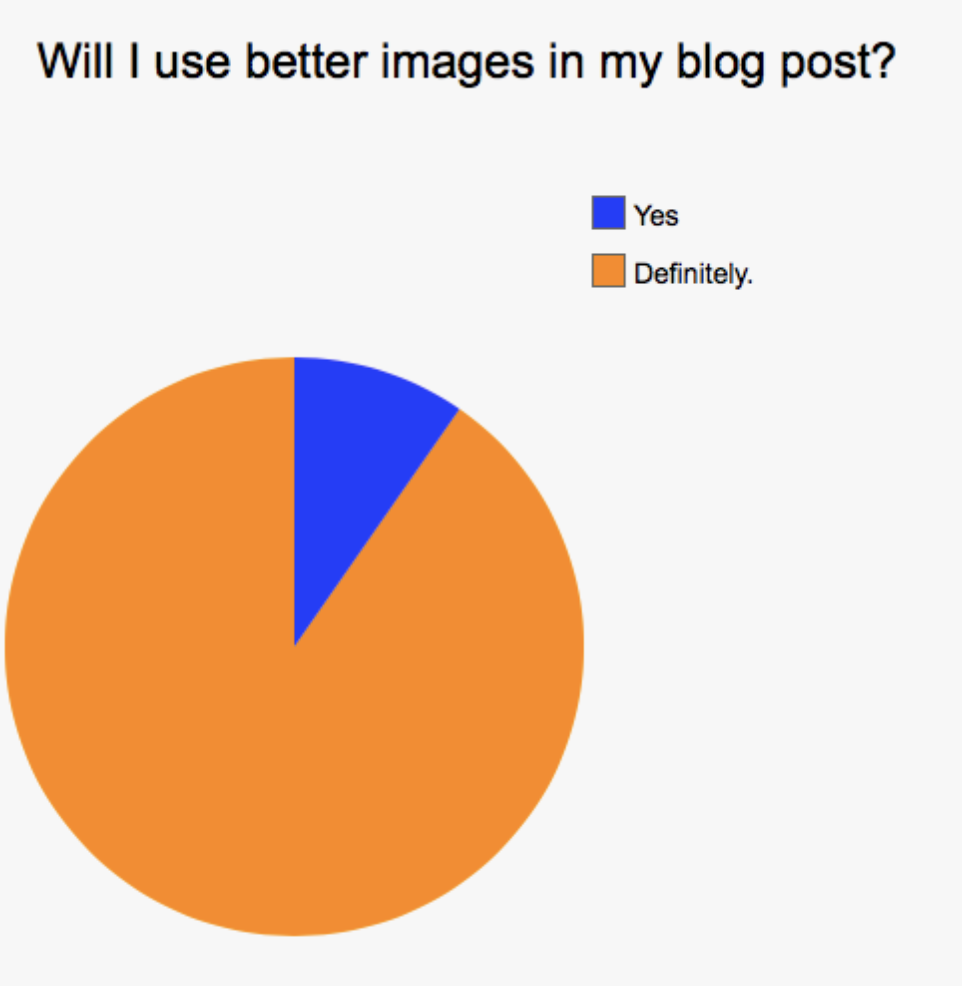
Use imgflip to create pie charts like the one below. They’re simple to produce and make your blog post stand out.
If you have the resources available, you could create an infographic. An infographic can act as a standalone piece of content or be a great addition to a data-heavy blog post.
If you’re looking to create an infographic, the first thing you need to do is find your data source.
The data is the backbone of the infographic and the design is the housing that holds it all together.
When putting together your infographic, use your own data, if you have any, and supplement this with external data you can find on reputable blogs and websites.

The benefit of using infographics like the one above from Point Visible is you are able to showcase data in a less overwhelming fashion.
Imagine this same information simply as text. Your eyes would wander around the screen, not knowing which data was relevant to you or worth reading.
Infographics are shared 3x more on social media than other content types. This is because they’re easy to read, digestible, and presented in a visually appealing way.
6. Utilize SEO tactics
Your blog images are another great tool to add to your SEO arsenal. Make use of the alt tag.
If you’re using WordPress, then click the pencil icon to edit the image.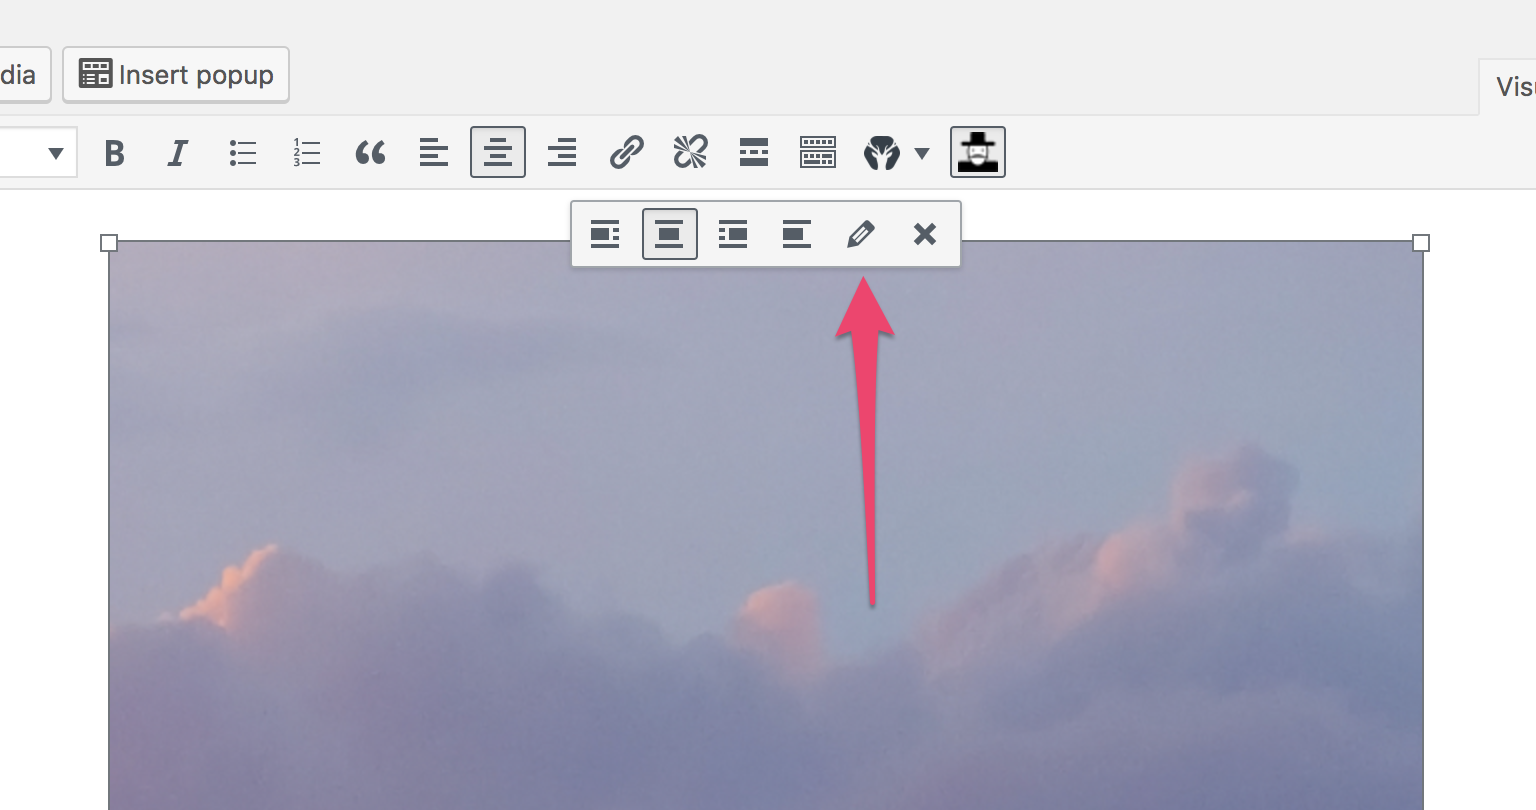
Fill in the alt text box with your chosen alt text.
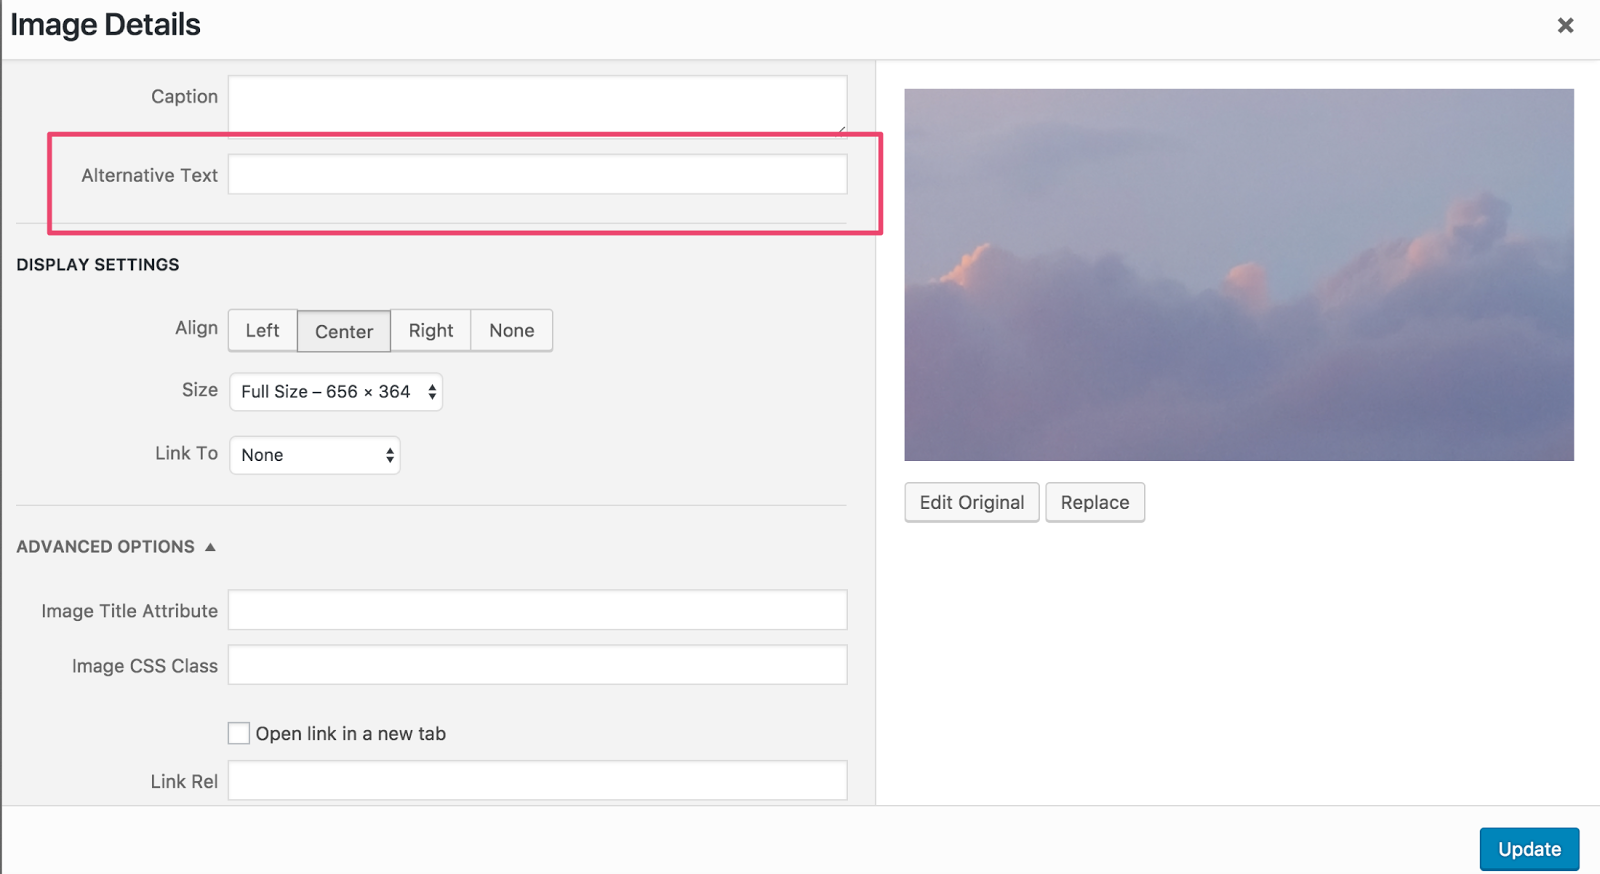
If for any reason your blog images don’t show up, the browser will load the alt image instead.
Another benefit of using the alt text is it’s what Google uses to crawl the web for images.
If you have an image about content marketing and you title your alt-tag text, “content marketing,” when someone does a Google image search for “content marketing’” your image may show up.
They might then click on that image and be taken to your content.
So choose an effective alt image text, rather than image18y447.
7. Include pictures of people
People sell. Faces are unique. As humans, we are naturally drawn to look at faces. But the faces should feel real and be related to the post.
Don’t use a stock image of a random person like this:

On my blog page, I use an image of my own face to humanize my content and encourage people to take action. My readers feel as though they know the person who is writing.

People trust people, so using images of people’s faces in your content is a good way to increase the trust they have with your content itself.
8. Optimize big images
Images are great. That much should be obvious just from reading this post.
But the issue with using images in your blog is that they have a large file size. And a large file size means they’re going to slow your website down.
Research from DoubleClick shows that 53% of users abandon a mobile website if it takes longer than 3 seconds to load.
I shouldn’t need to tell you that you don’t want that to happen.
To avoid a slow website, optimize your images so that you can keep the visual quality of the image high, but the file size low.
This can be done manually, but it works more effectively using a number of different tools.
If you use WordPress to host your blog, then download the WP Smush plugin, which will automatically condense your image file sizes to ensure they’re as low as possible.
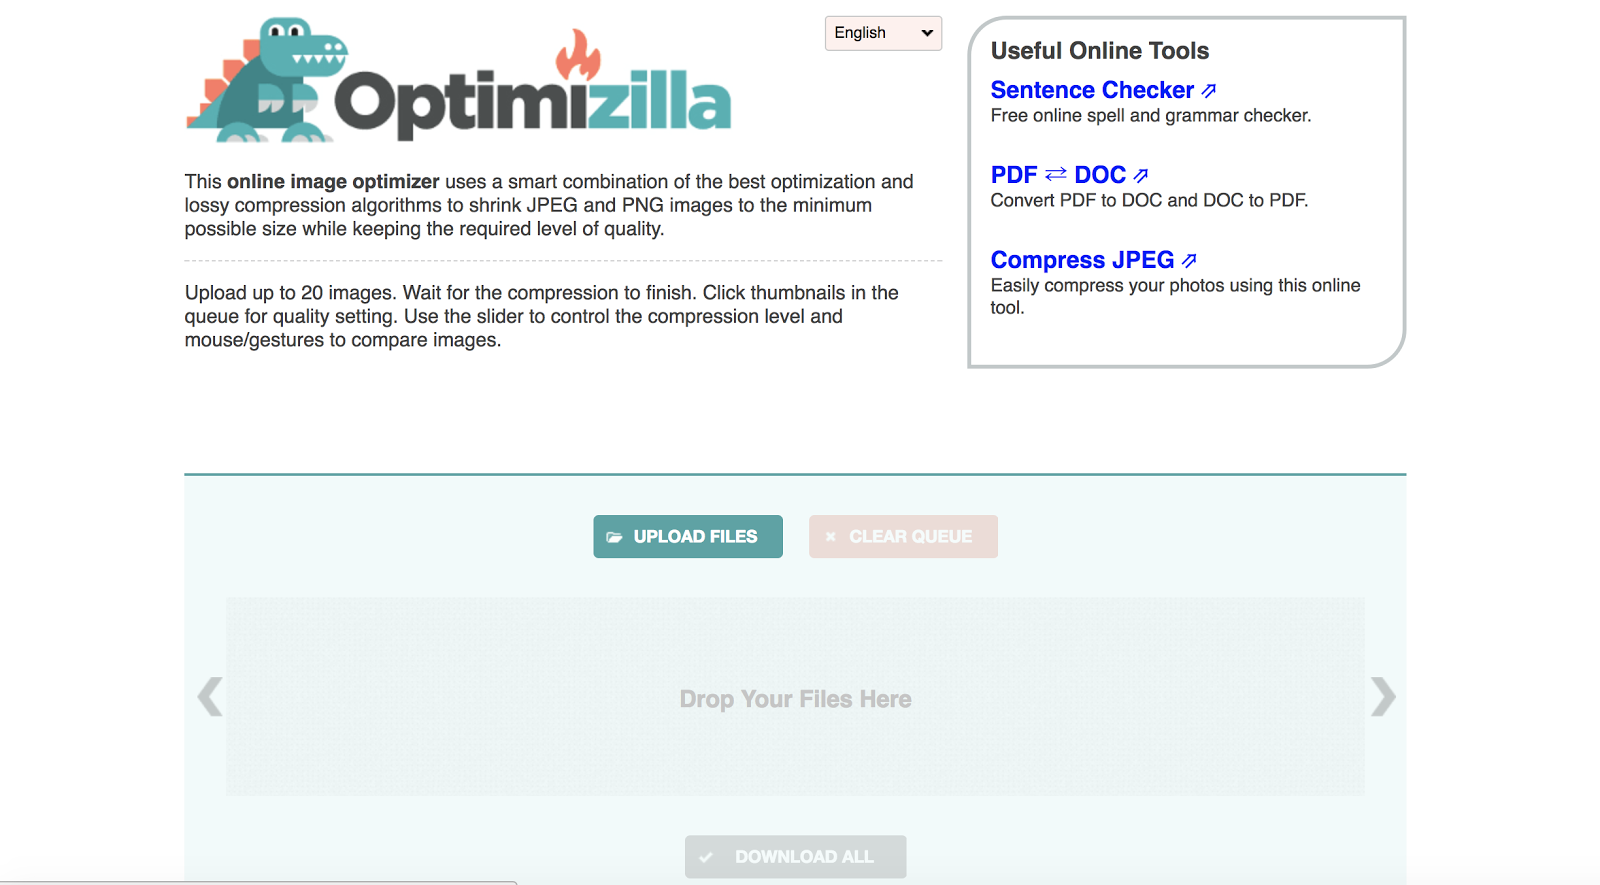
Or if you would prefer to optimize your images before you upload them to WordPress, use a tool like Optimizilla.
You can check your website’s speed in three simple steps:
Step #1: Visit Ubersuggest, Type in Your Domain and Click Search

Step #2: Click Site Audit in the Left Sidebar

Step #3: Scroll Down to Site Speed

9. Utilize images frequently
You may be wondering how many images to use in your blog posts. The short answer: as many as you need.
But for most of you, that isn’t very helpful. If you’re looking for a specific amount, the general consensus is one image per 150 words.
The number of images you use varies post to post. Like I mentioned before, every image needs to add something to the post. It shouldn’t just be there for decoration.
Utilize as many images as possible. Just don’t go overboard, or else your blog post will end up looking like an Instagram feed.
You’re not creating a photo essay like the one below, you’re using imagery in your blog post to support your written content.

Use too few and you’ll end up with that wall of text we’re trying to avoid.
So the key is to follow this checklist:
- Does every image I’ve used have a purpose and add something to the content?
- Have I supported all my points with a suitable image?
If the answer to those two questions is yes, then you’re off to a good start.
Key point: by nature, step-by-step blog posts will generally need more images and probably less text as you visually show all the steps involved.
If you were writing a blog post explaining to someone how they can install WordPress, it would probably need more images than a blog post talking about the advantages of social media marketing.
In the first example, your readers want to follow your steps exactly and ensure they’re pushing the right buttons and typing the right text.
With the second example, you’ll need fewer supporting images, as the main point of the blog post is for the reader to understand the advantages.
10. Create your own images
Maybe you’ve decided you don’t want to pay for images, or you can’t find one that is relevant to your blog post.
When this happens, create your own.
If you use any stats in your blog post, present them as an image.
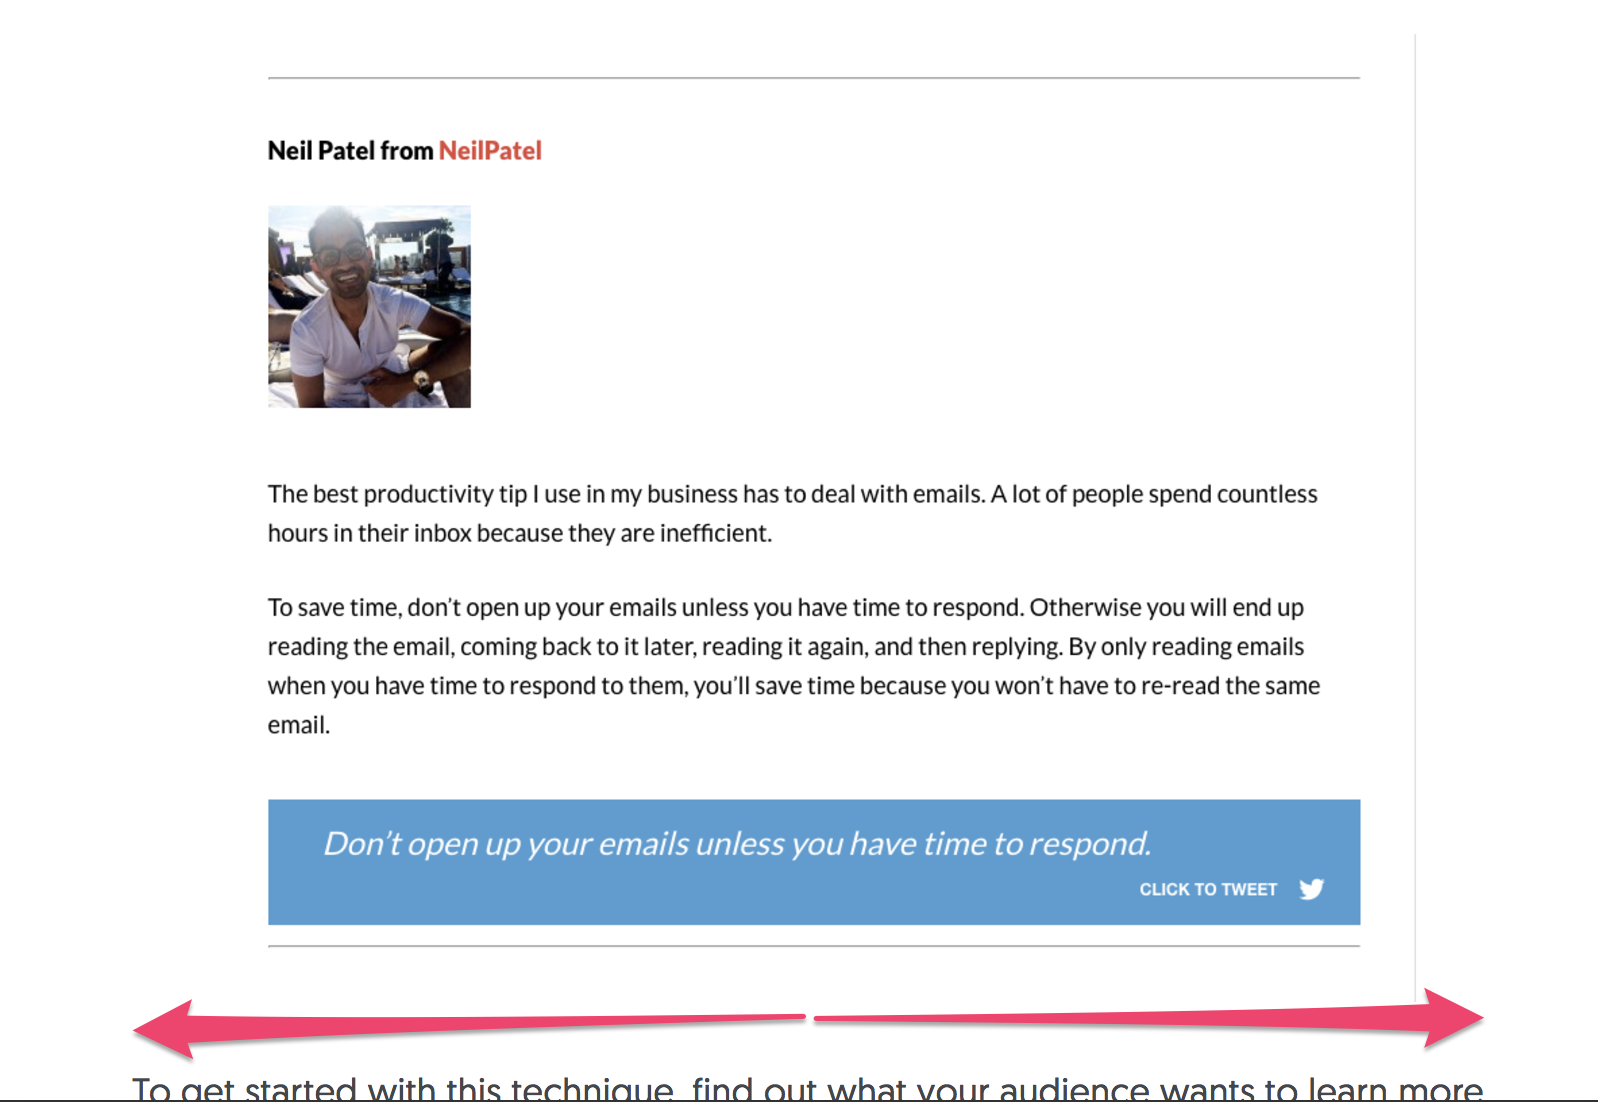
If you have one stand-out quote you want your users to remember, then create a visual image of it. If the quote is appealing enough, they may even share it on their social channels.
Use a tool like Pablo by Buffer to create your images. It’s free and simple.
Choose an image from the left-hand side. (Note: they pull all their images from Unsplash, the complete royalty free image sourcing we mentioned earlier).
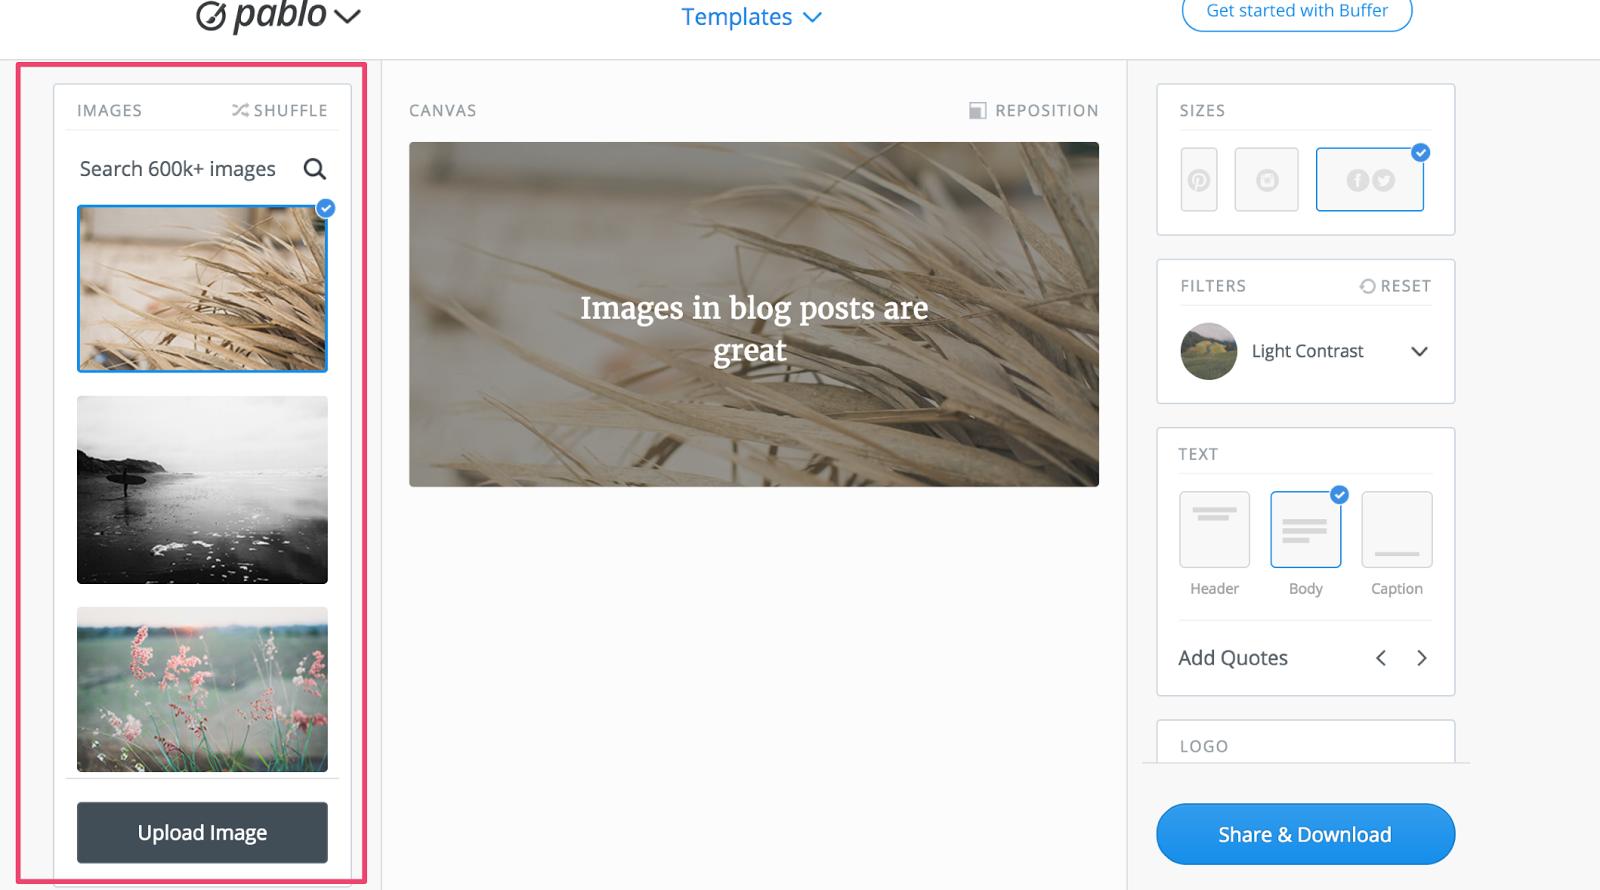
You can also upload your own image as a background if you want to.
Choose the size of the image, which will be based on where you plan to share it.
Then, choose the size of the font, type in your quote or stat, and then use the buttons on the right-hand side to make any formatting edits. 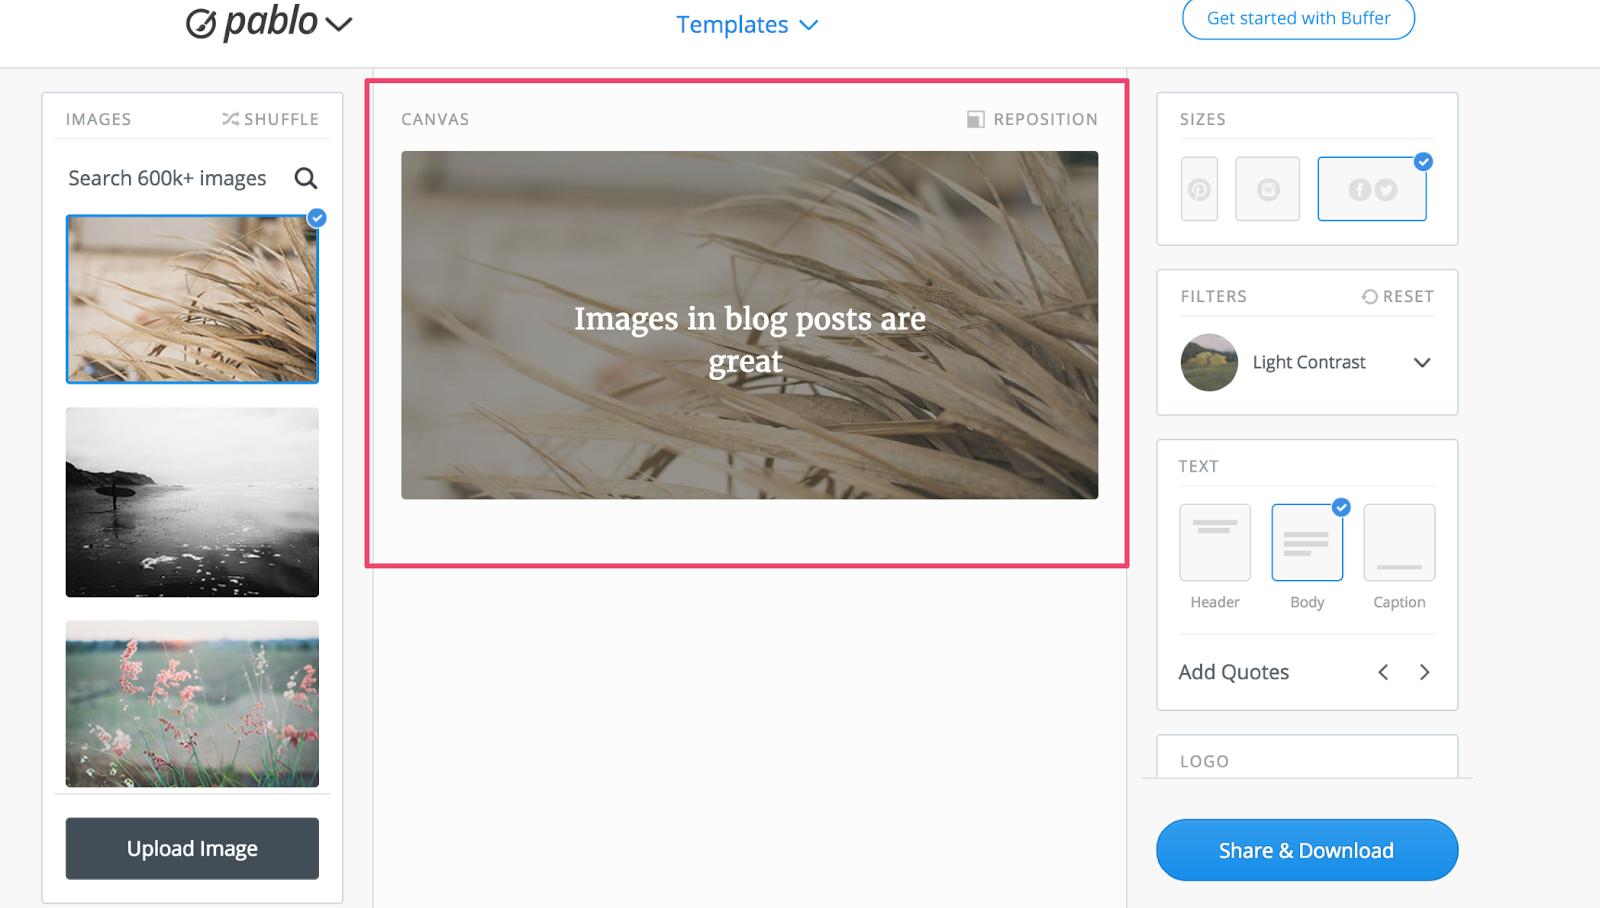
Once it’s done and you’re happy with it, download it and upload to your blog.
Remember not to skimp on the featured image as well.
Your featured image is usually the first thing a visitor will see.
It’s also the one that entices users to click on your blog post in the first place.
If you’re a designer, you can create your own branded featured images like software comparison site Crozdesk does.

But if you’re not a designer and still want to make use of featured images, then you can simply get a free image from one of the sites I mentioned earlier and lay it over the headline text.
This way your visitors will immediately know what your blog post is about.
If you’re looking for another way to add text to your images, you can utilize a user-friendly tool like Canva.
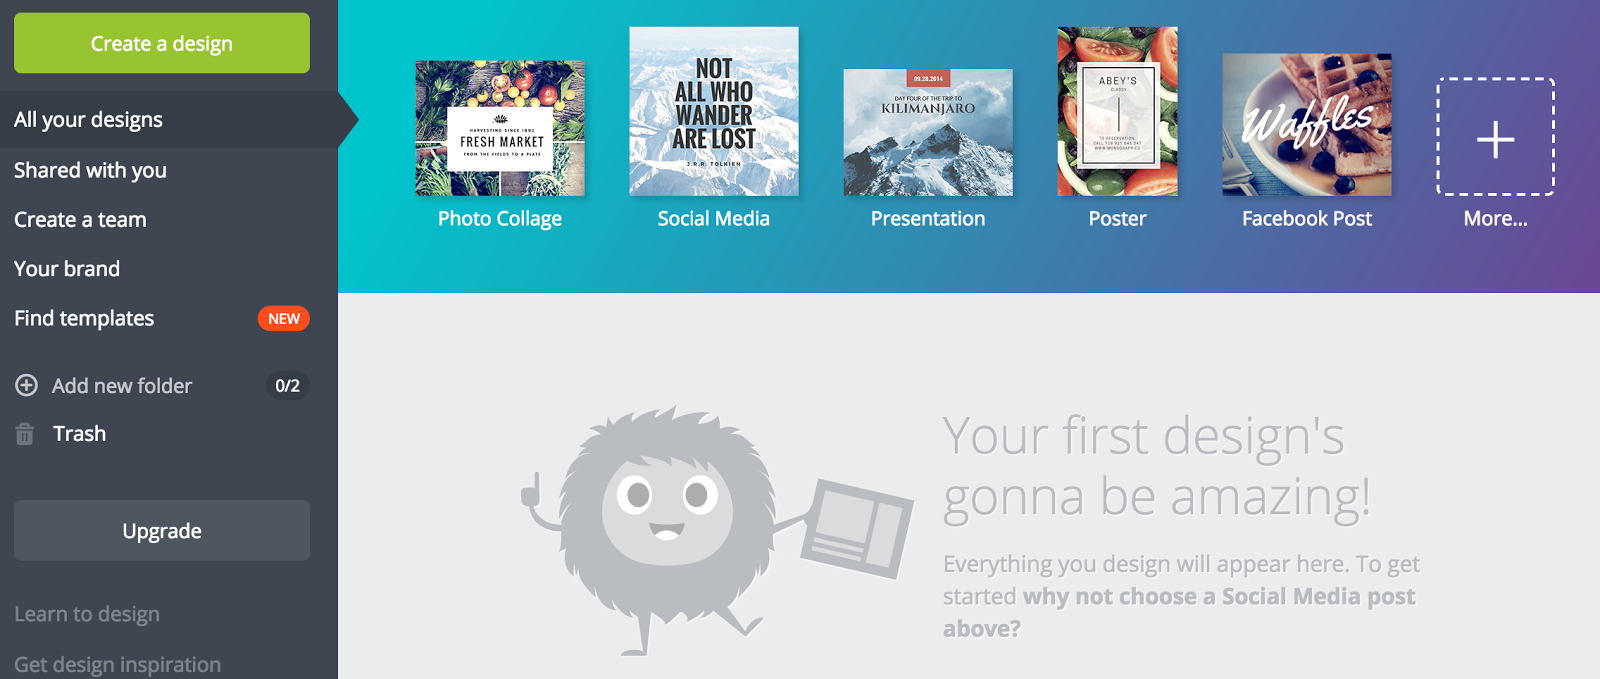
Canva has built-in templates you can use to create images, graphics, and logos.
You can also add your own colors to the pallet and ensure every image you create has your own branding. Using your own branding in your blog post images will give you a sense of ownership over your content.
Your readers will come to know your branding and immediately recognize when a piece of content has come from you.
11. Determine the ideal size of your images
When it comes to the size of the image, it really depends on what the image is of. You don’t want an image to take up the whole screen and overpower the words, but at the same time, you don’t want it to be too small that people need to zoom in to see it.
One thing to make note of is aspect ratio, which is the width-to-height ratio.
Wide images are known as landscape images and the tall images are portraits.
Use landscape images on your blog so that the pictures add context but don’t overpower the rest of the content.
You also ideally don’t want your images to be wider than your blog content width.
My images are never wider than the body text.
If you’re using WordPress to upload your blog content, any images larger than that size will be shrunk.
When you’re thinking about the location of the images, center them or put them to the right of your post. This will make it easy for your readers to consume your content as our eyes naturally move from left to right.
Conclusion
The images you use in your blog posts tell a story as much as the words do. It’s crucial not only to include images but also to include the right images to help you craft and tell that story.
Imagery should be an integral part of all blog posts. You should think of images the same way you think of your introduction or title: Your blog just won’t work without them.
Images support your words and hold your argument together.
If you follow the best practices listed in this blog post, you’ll be well on your way to producing content that is visually appealing and engaging.
Your arguments will stand out, your content will appear unique, and overall, you’ll become a better writer.
They say a picture is worth a thousand words. Guess what?
They’re right.
Why do you think it’s important to include images on your blog?
Comments (108)